Apodization or Apodisation- a very uncommon word!
Who knows what apodization is? Not many.
People who know the (Minolta) Sony 135mm f/2.8 [T4.5] STF [Smooth Trans Focus] lens know it. And some people who like Bokeh quality - not only quantity.
Here in the Xitek forum are many Sony STF example pictures. There is even a Canon photographer who mount converted this lens to get that bokeh on Canon. But this Sony lens could be adapted to Canon EOS.
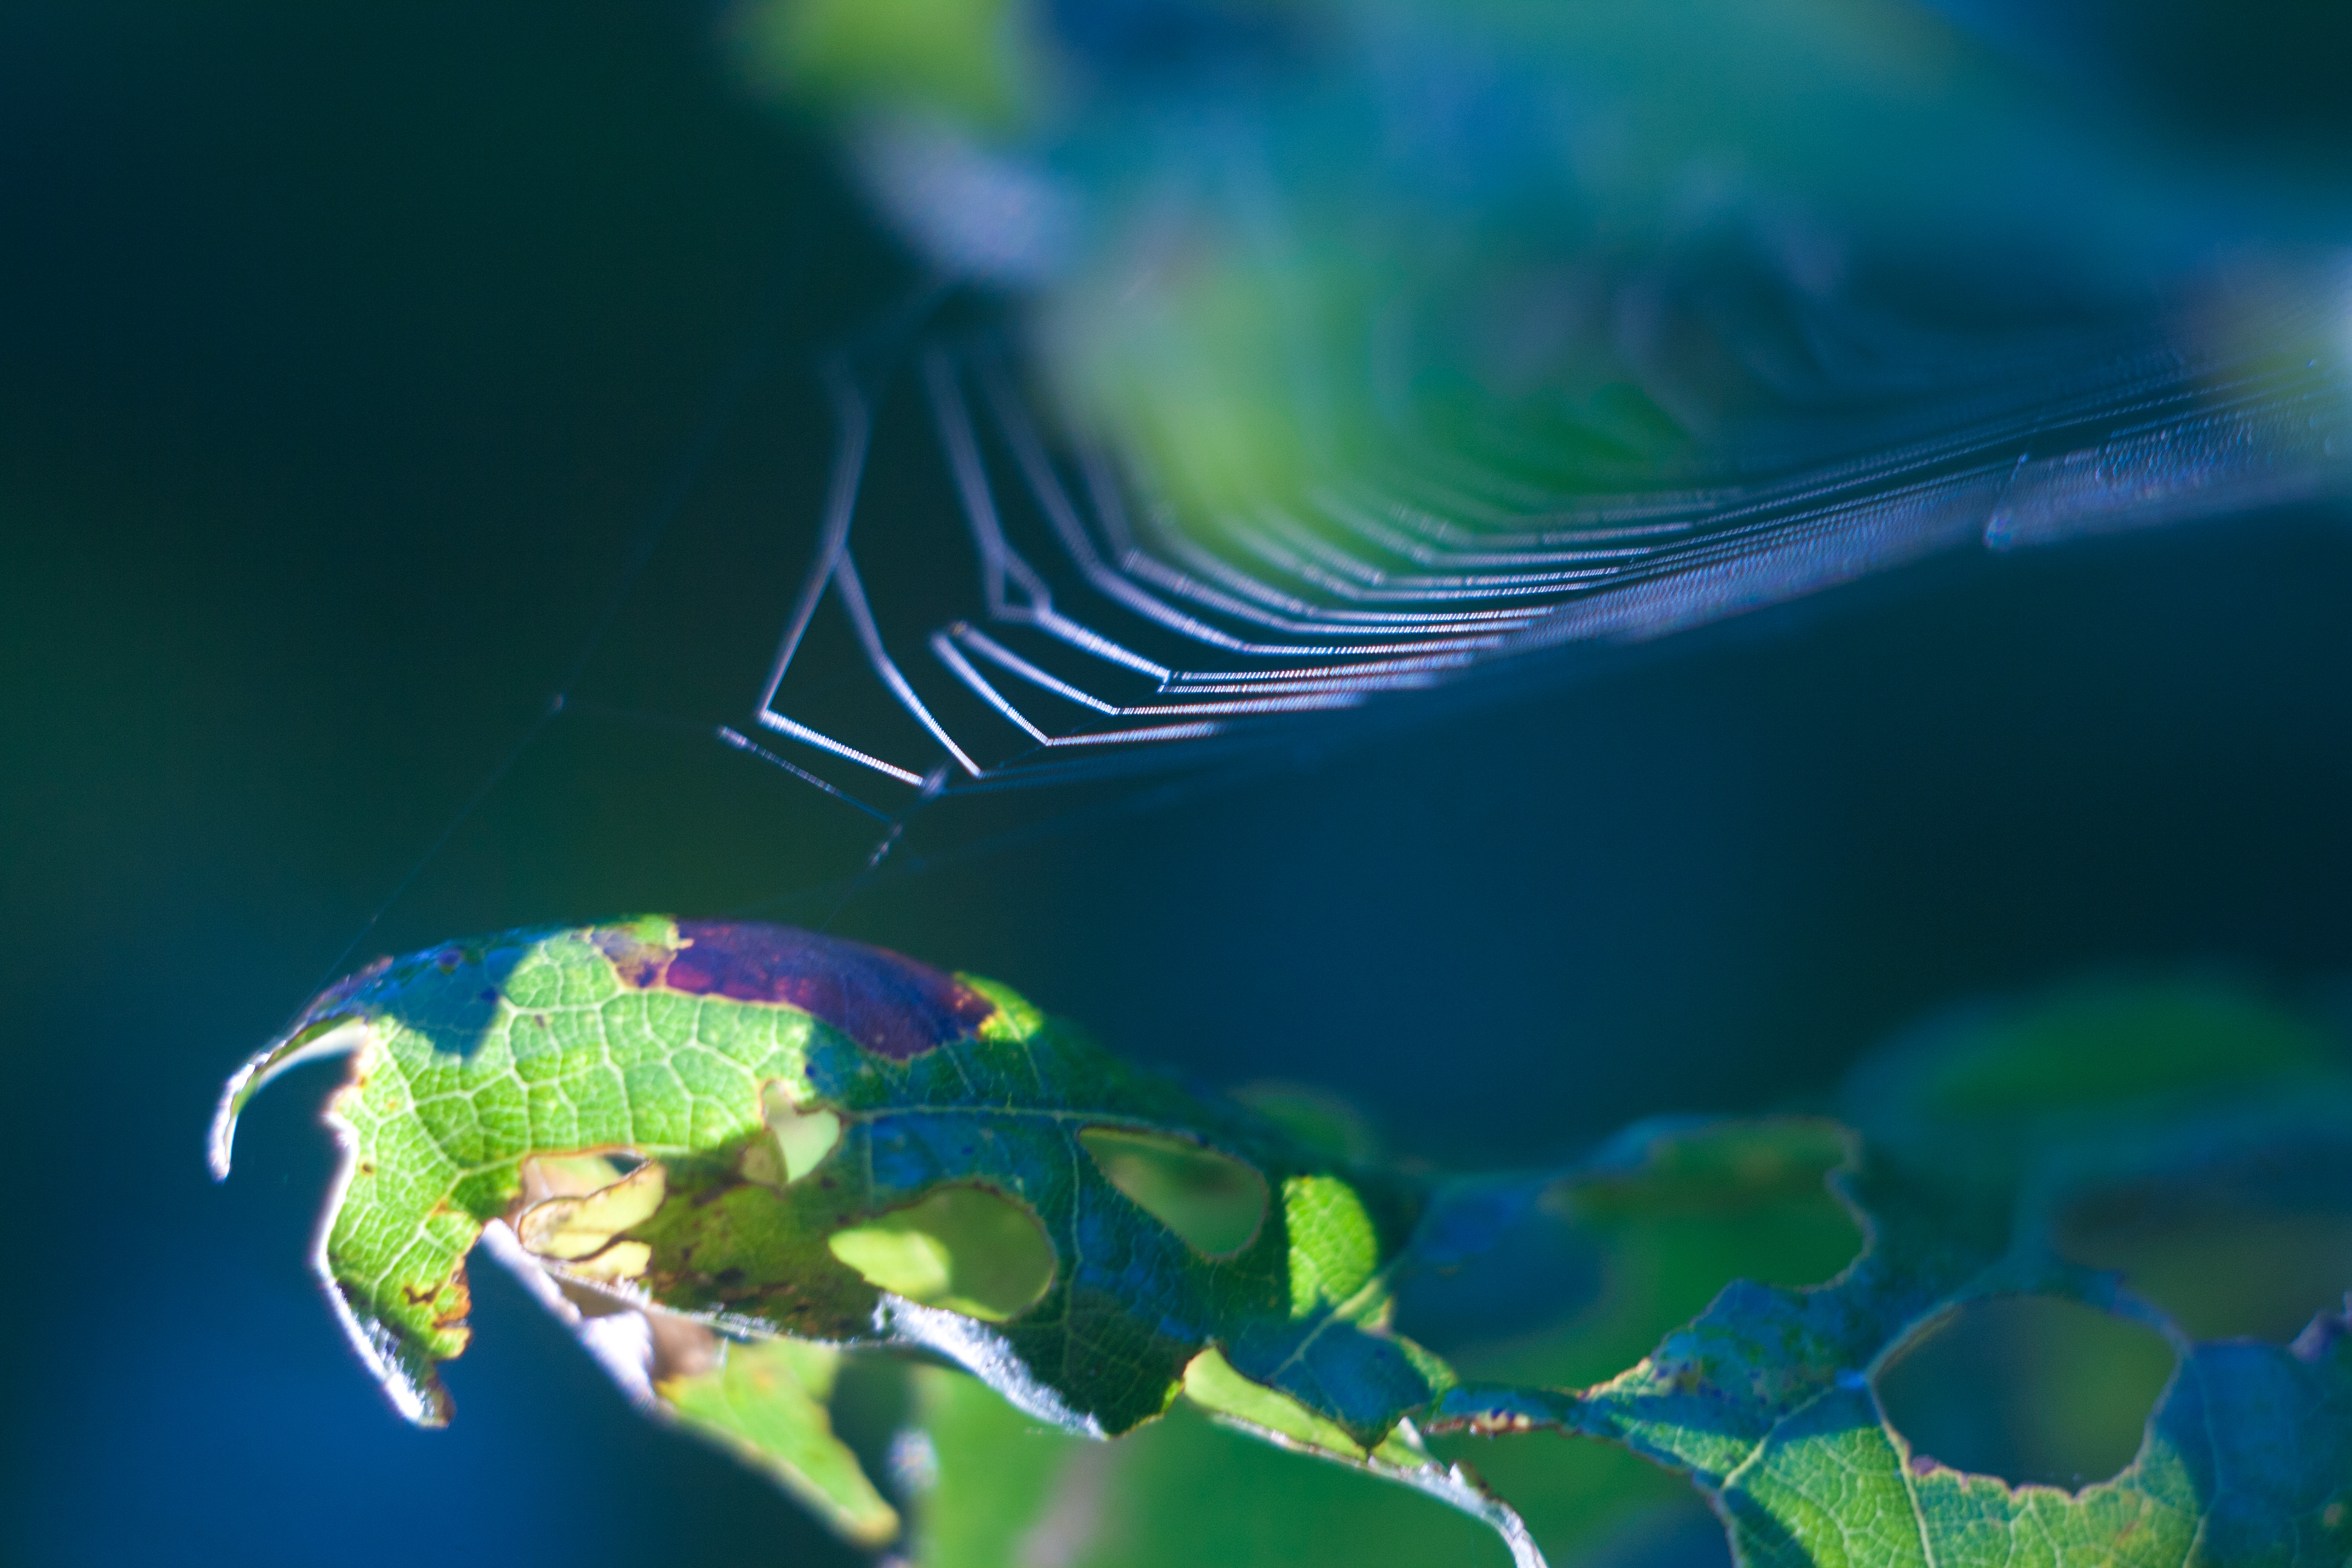
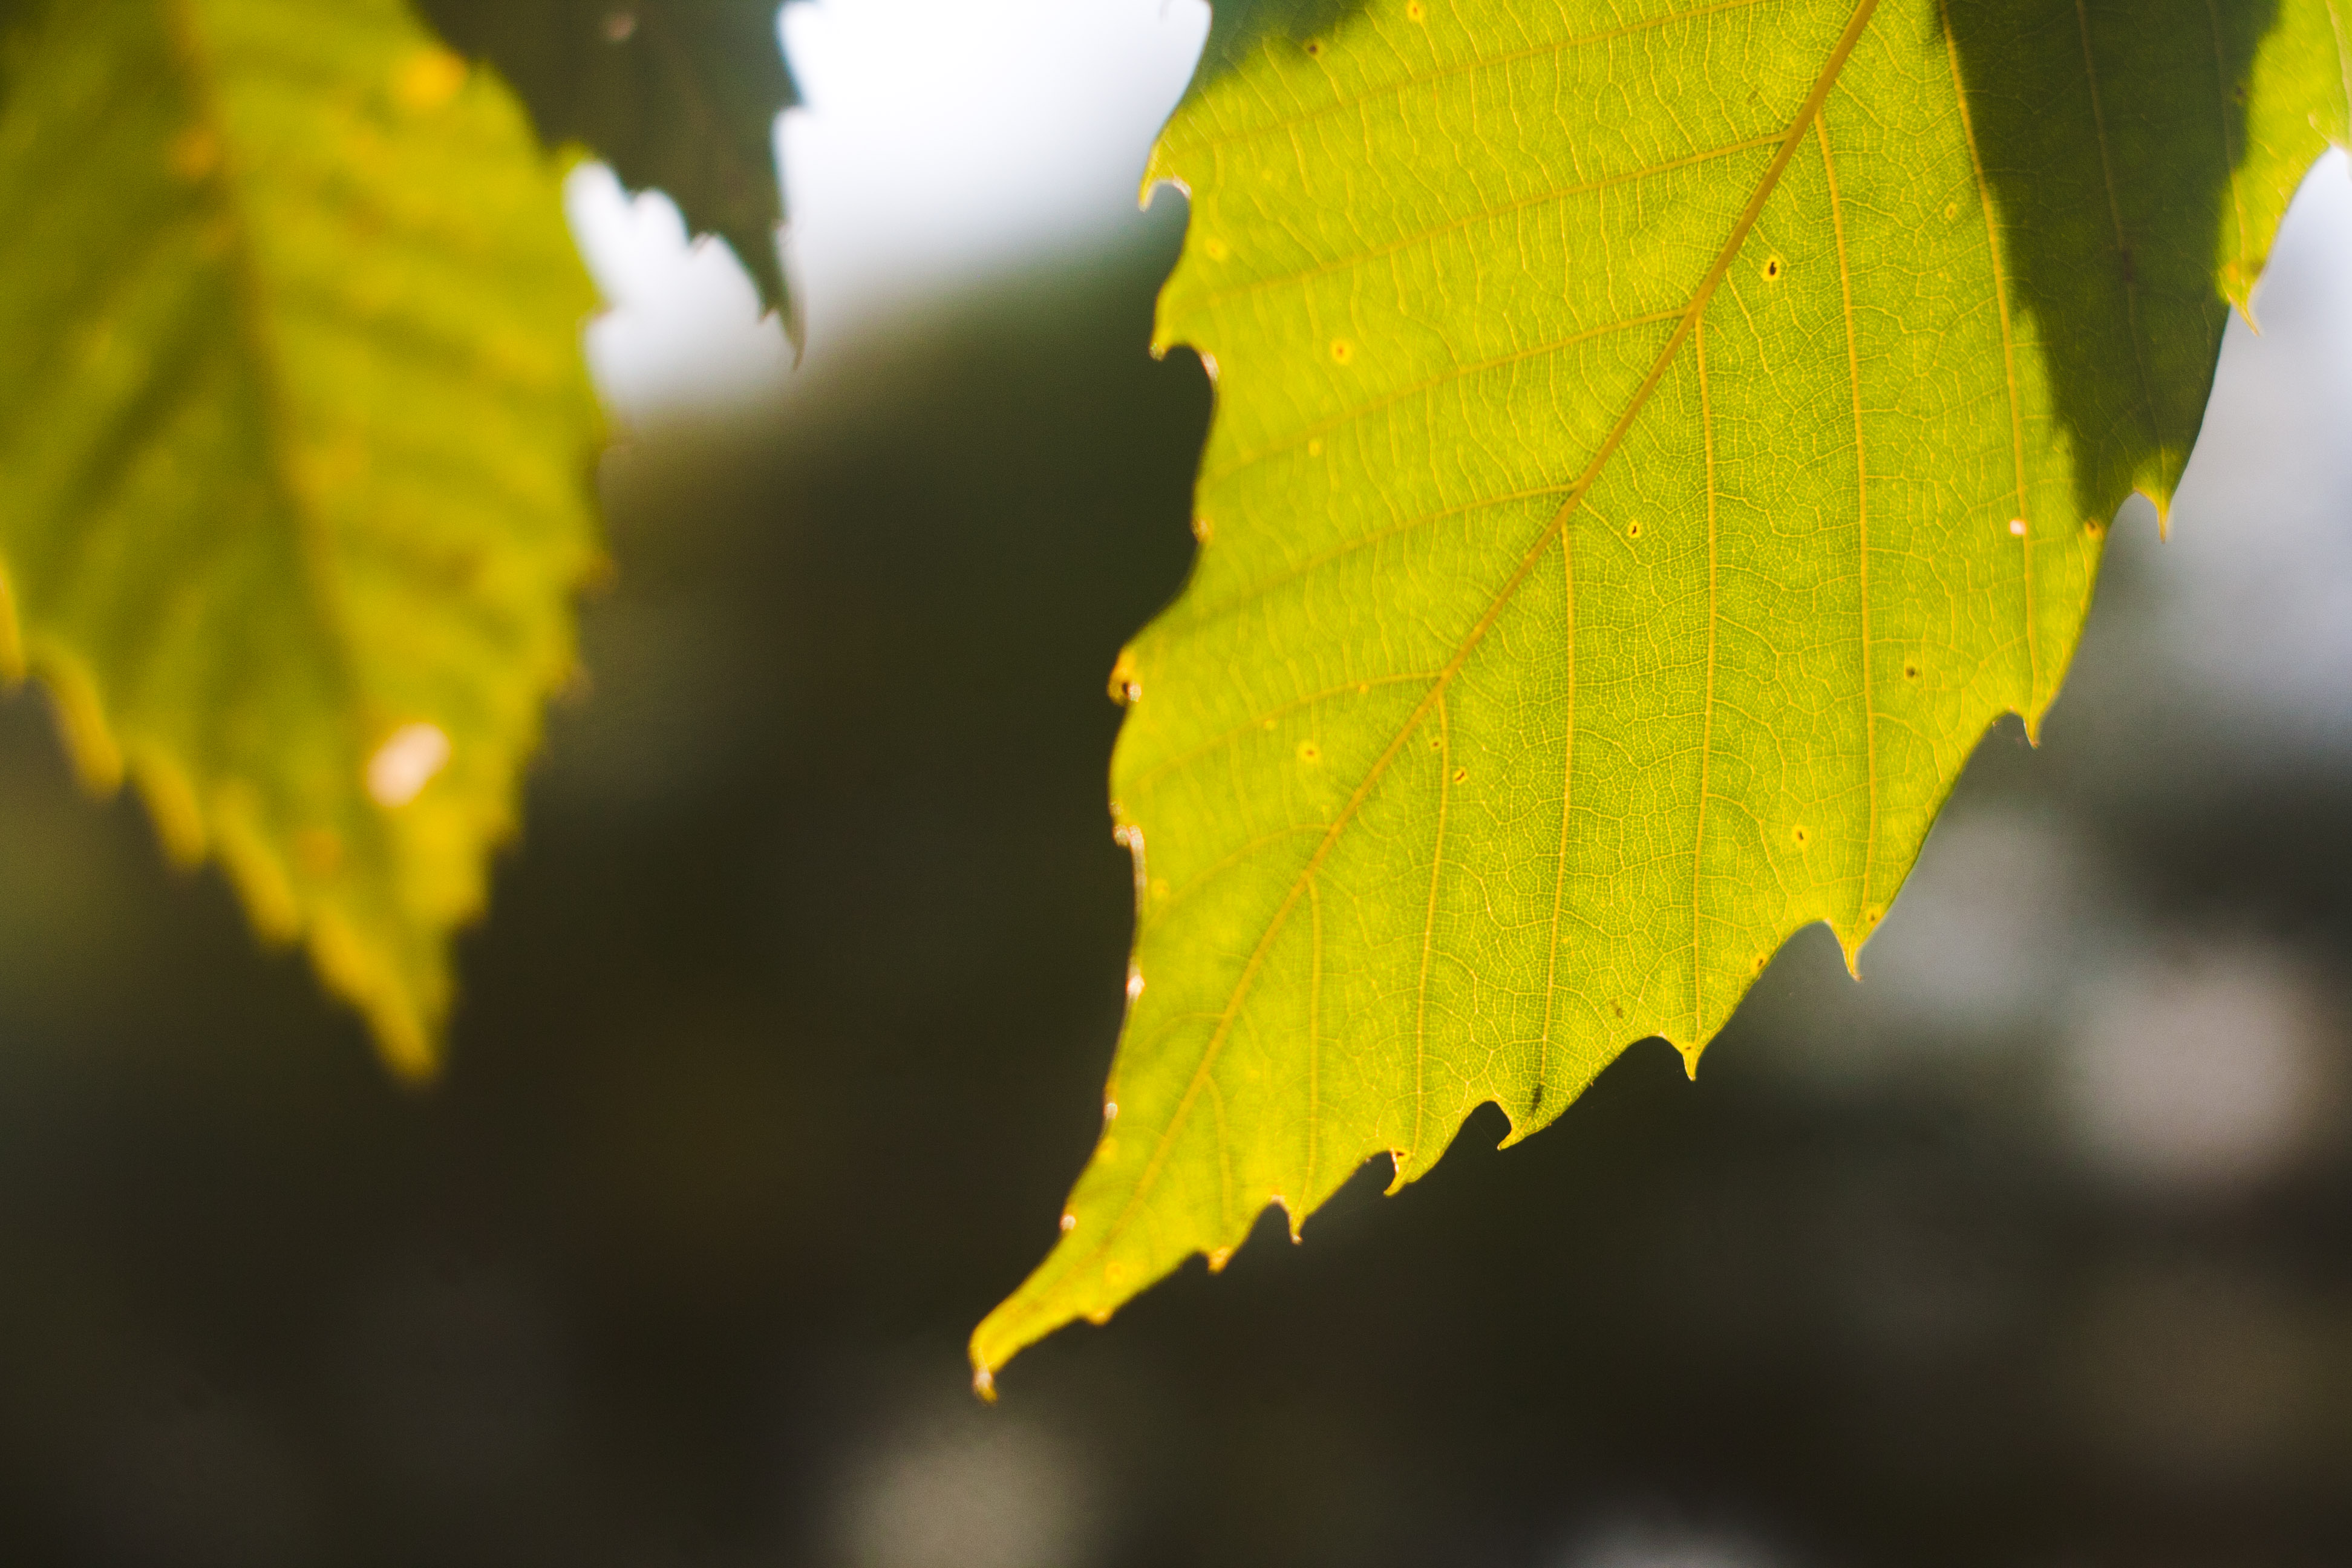
Apodisation is shaping of the intensity profile. This intensity profile could be best viewed in unsharp regions of the image - in the Bokeh. Best thing to see it directly are unsharp highlights in the image. With normal lenses these are more or less uniform illuminated circels, or ellipsoides (cateyes). Sometimes the borders of the circles are brighter - as with the Meyer Göerlitz Trioplan 100 f/2.8 used wide open. This could be nice for some images, but not for all - most times this would be called a bad bokeh.
A uniform intensity profile would be called neutral or even good - even if that Bokeh emphasize itself!
But it is not very common to have an intensity profile like a gaussian curve, or something with the borders going to zero. This bokeh is great to be true neutral - the background blur is not stressed.
Bokeh Forming - Short Therory
Here only a short simple explanation how the bokeh is formed. What we see as the "bokeh" borders, are the iris blades, or their surrounding perfect circle shaped housing while the iris is set full open. When we close the iris, we see the iris blades. For a iris with three blades this looks a bit strange - you could see this at pictures made for example with the Zeiss HFT 35mm f/1.4 or 85mm f/1.4 for Rolleiflex 135 cameras.
Carl Zeiss lenses for Contax/Yashica mount with the older AE type have a blade oddity too - the have at some f-stops a jigsaw form.
Most people seem to prefer circle shaped defocus spots - so there is the need for circle shaped iris blades, and many iris blades. This is the reason, why some claim that lenses with many iris blades have a good bokeh.
But these blade number is only interessting with most lenses as soon as one close the iris!
How To Make Your Own Bokeh?
Sony has made their apodisation element out of two glas elements. One would be out of a neutral density filter glas, the other out of clear glas. The two parts could probably be a kind of parallel plate, if the glas is the same for the two glued together lenses. But they have to take this into their optical design.
One could buy apodizing filters - but still the optical design should be changed for those.
For us tinkerers this is not a good way to go!
But there is a way to get the apodisation effect with other lenses than the Sony STF lens with its long 135 mm focal lenght - not as perfect as that lens, but way cheaper and you could test it with different lenses:
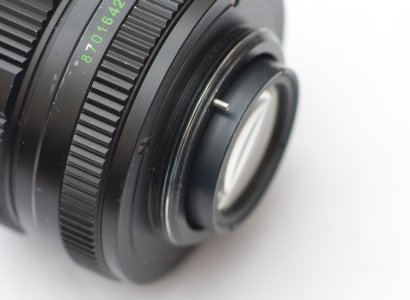
1. You need access to the iris.
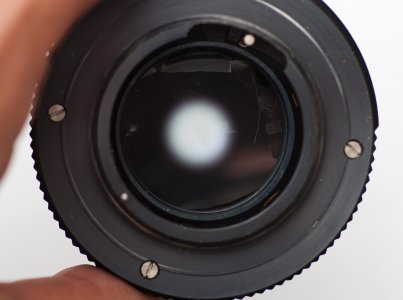
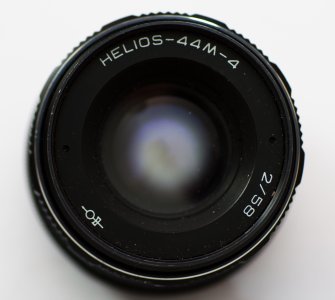
With some lenses this is pretty simple. As an example I take the Helios 44-4 58mm f/2.0: One could simply screw out the last tube of the lens, and under that is the iris. But at this lens the iris surrounding is not perfect for this task, the iris will probably not close after the modification.

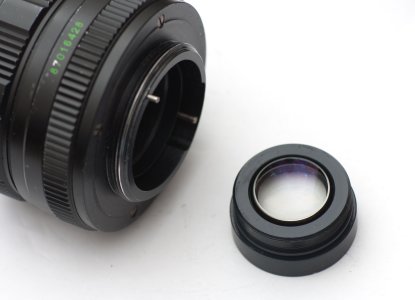
2. You need to measure the diameter of the open iris.
For that Helios 44 lens it is 19 mm - this is not the entrance pupil one can calculate with focal length / f-number!
3. Search a lab who could do film recording for you at a cheap rate for a small number of slides. Check what resolution they need.
I got my slides here in Germany from Eye.de
4. Create with Photoshop or another program an image that could be film recorderd.
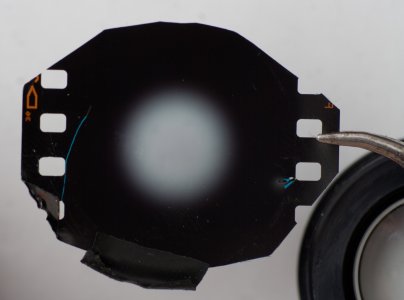
The diameter on your slide should be the same as your iris diameter. For example with the Helios 44 you need 19 mm diameter - black at a radius of 9.5mm and transparent (white) at the center.
Now you could need your creativity. For apodization you will creat uniform somehow gaussian images with a clear center and a dark border. If you want less light loss with your lens, you could make the clear center bigger, and only a smoother border beginning at 50% of the diameter of the iris to fade away to black.
But is is possible to make some shape, or even some colorisation into the apodisation filter image file.
5. Send your image data to the film recording lab.

6. Mount this silde after cutting it into form in your lens near the iris. For this you will need tweezers and some tape or something to get the filter slide into the right position. It should be centered - and it should be clean. Every dirt could be seen in the defocus spots!
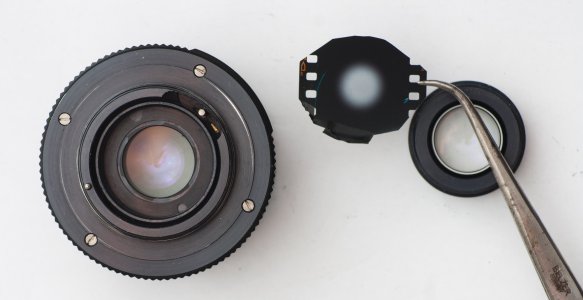
7. Assemble the lens together.
Depending on the optical lens design the ~ 0.15 mm of the film thickness with its index of refraction of ~1.5 could cause problems, probably you have to correct the distance of the lens system after the iris - 0.05 mm should be the difference.
But with the Helios 44-4 I had no problems with that, need no correction.
But don´t forget, you loose light with such a filter!
Variations
- With color slide film I have acceptable results. With B&W negative film (with inverted image data) I had bad results - to much
density in the clear center.
Have to test monochrome slide film!
- One could try homemade film exposure with a computer monitor and a camera. This is a cheaper way to go if one needs bigger diameter than 24 mm. Take
a medium format camera, and photograph the apodization image that you have on the monitor. Probably with some defocus, or vibration to get rid of the pixel structure of your monitor.
Dor black&white this is relativly easy, for color you probably need to filter!
Constraints
I have sometimes problems with some structure in the defoccused image - I suppose at the moment that this is not only dirt, but some structure in the film material, probably due to processing.
Furthermore one could get strange color shifts - if black is not really neutral black. And very bright highlights could make problems too.
With color slide film as in this example the colors of the slide will degrade over time. Probably one remembers: Kodachrome slides have a fantastic long life in dark conditions, but short life if illuminated. Normal E-6 processed color slides like here have a better lifespan in projection. But still I do not think these slides will work for years of heavy use.
Classic black and white reversal film would be much better, blackend silver remains in the slide, and this is much more light resistant - if processed well. But in my tests I found no film with very low minimum density and low scatter.
I want to
emphasize: Not every film or every lens seems to work well in this setup!
My last slide film I got now (January 2013), seems not to work as well as the first one. Different kind of film and most likely film-recorder, and different lenses. To high minimum and too low maximum density are one problem. None neutral colors another one.
I am working and testing to get better results.
Hence this is still in an experimental condition!
Lenses With Easy Accessible Iris & Iris Diameter
Helios 44-2 and 44-4 and probalby all 44- versions - 58mm/2.0, ~19 mm diameter - even without spanner wrench
Vivitar 24/2.8 ~ 12.9mm
Tokina RMC 28mm/2.8 ~13,0mm
Vivitar 28mm/2,8 ~14.8mm
Tokina RMC 17mm/3.5 ~13,0mm
Kiron 105/2.8 ~30mm - not super easy
Tokina RMC 200/3.5 ~21mm - but film could best mounted in some iris distance
Rubica 135mm/3.5
~
31,9mm
Canon EF 50/1.8 II ~ 19mm - access from the front - easy on those defect lenses were the front cell fell off - not sure about normal ones
Minolta Rokkor PF 53mm/2.0 ~18,3 mm
(spanner wrench)
Minolta MD Rokkor 50mm/1.4 + 23 mm
I got mail that:
Beroflex 28mm/2.8 and Auto Revuenon 55mm/1.4 are easy too - but don´t try to open Meyer Görlitz lenses three radial screws, they adjust the rear group!
Jupiter 9 85mm/2.0, Zeiss 85/1.4 (C/Y), Canon FD 85/1.2L, Canon FD 24/1.4L, Porst 135/1.8 are bad - in this regard.
Please be aware, that sometimes different versions of a lens exist - with probably different lens setup and iris diameter and accessibility!
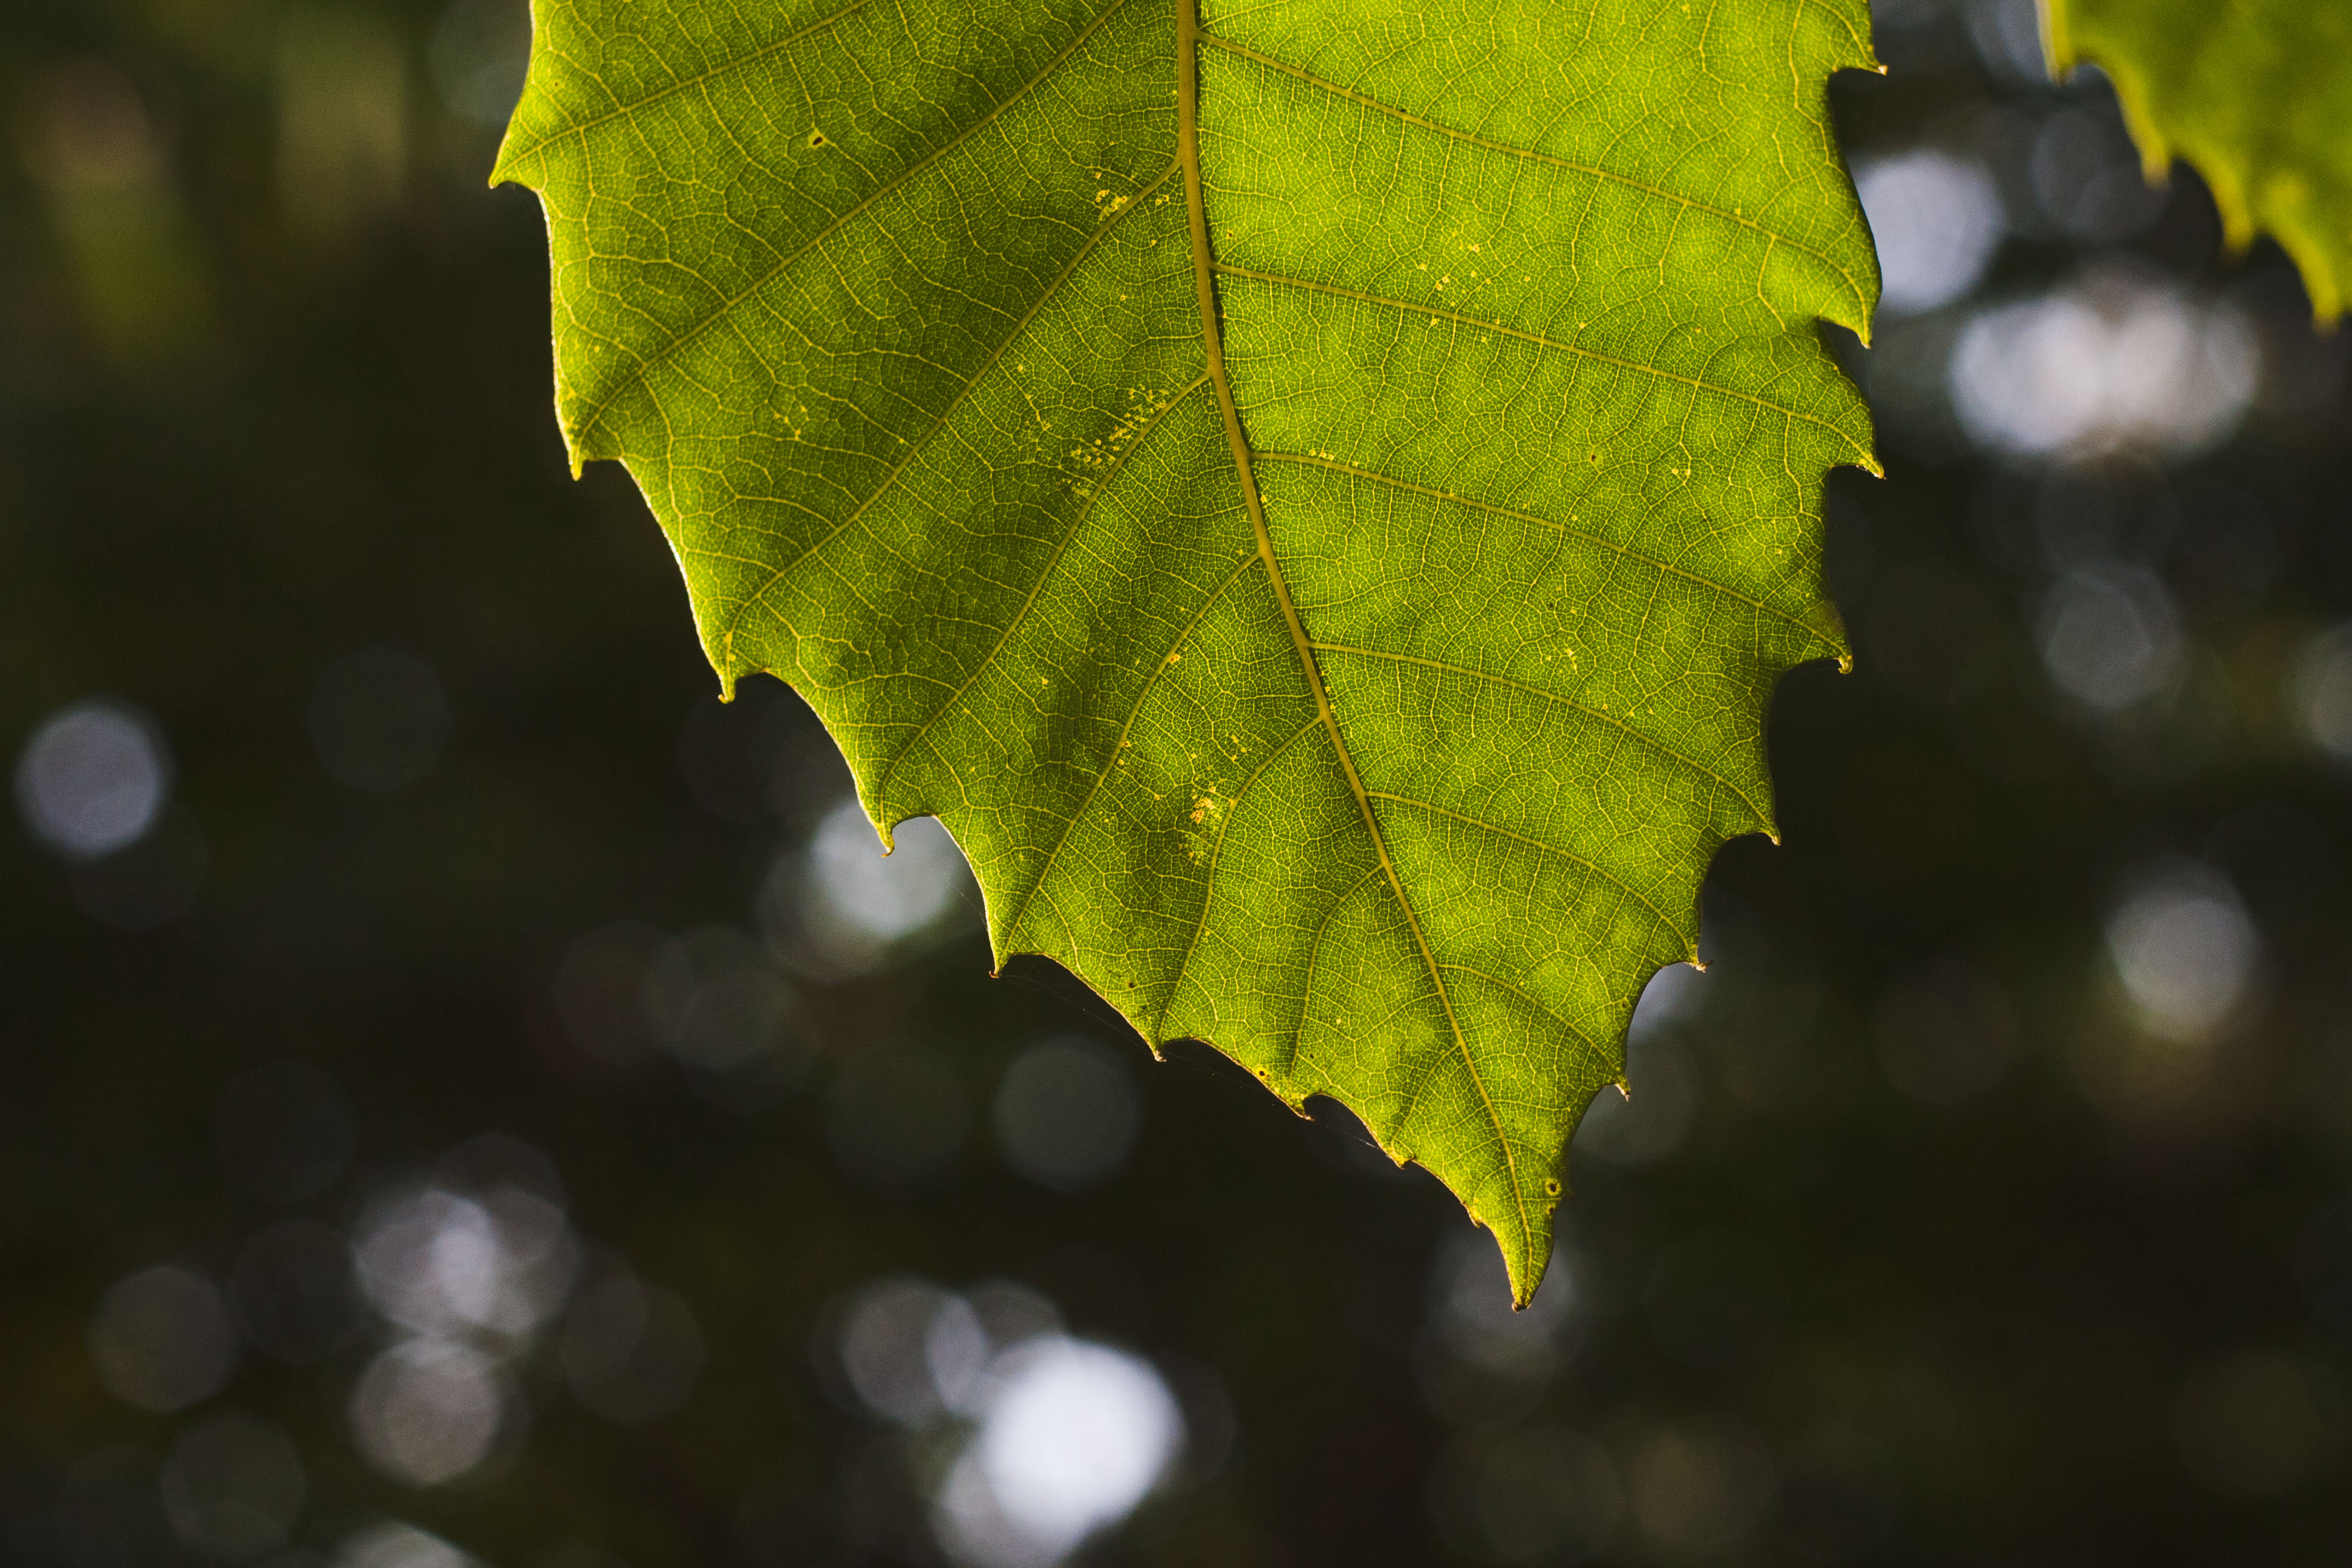
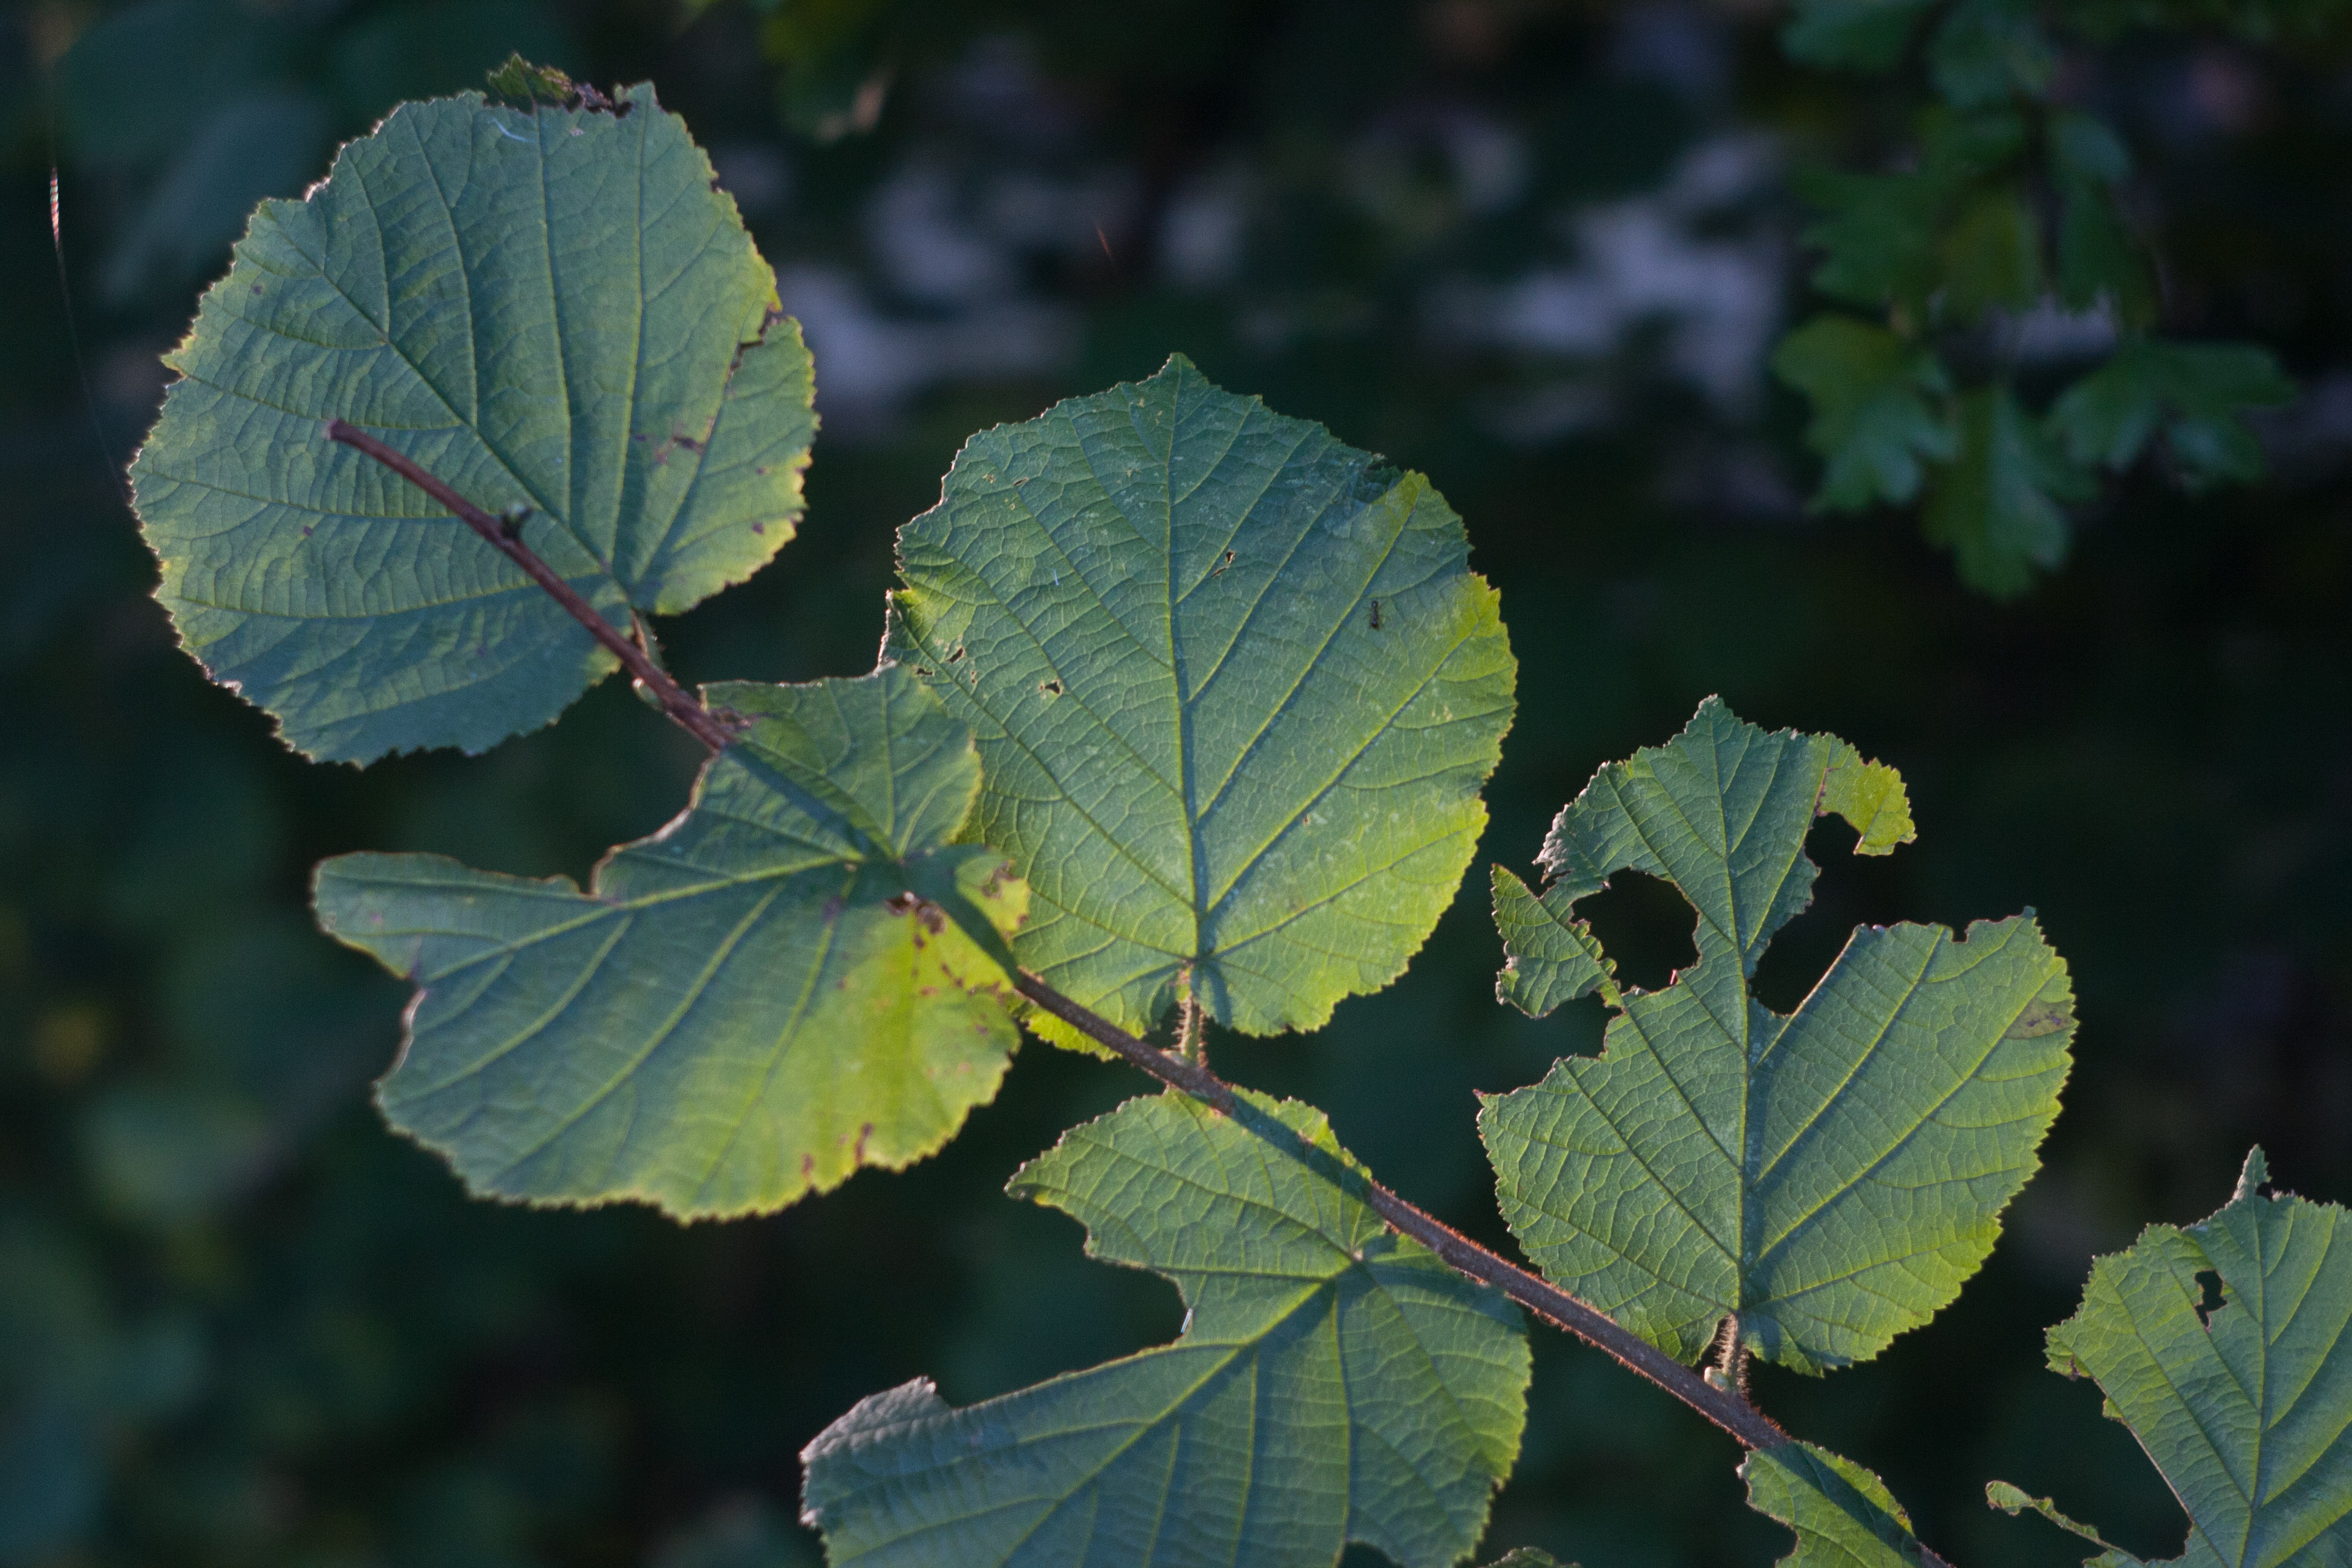
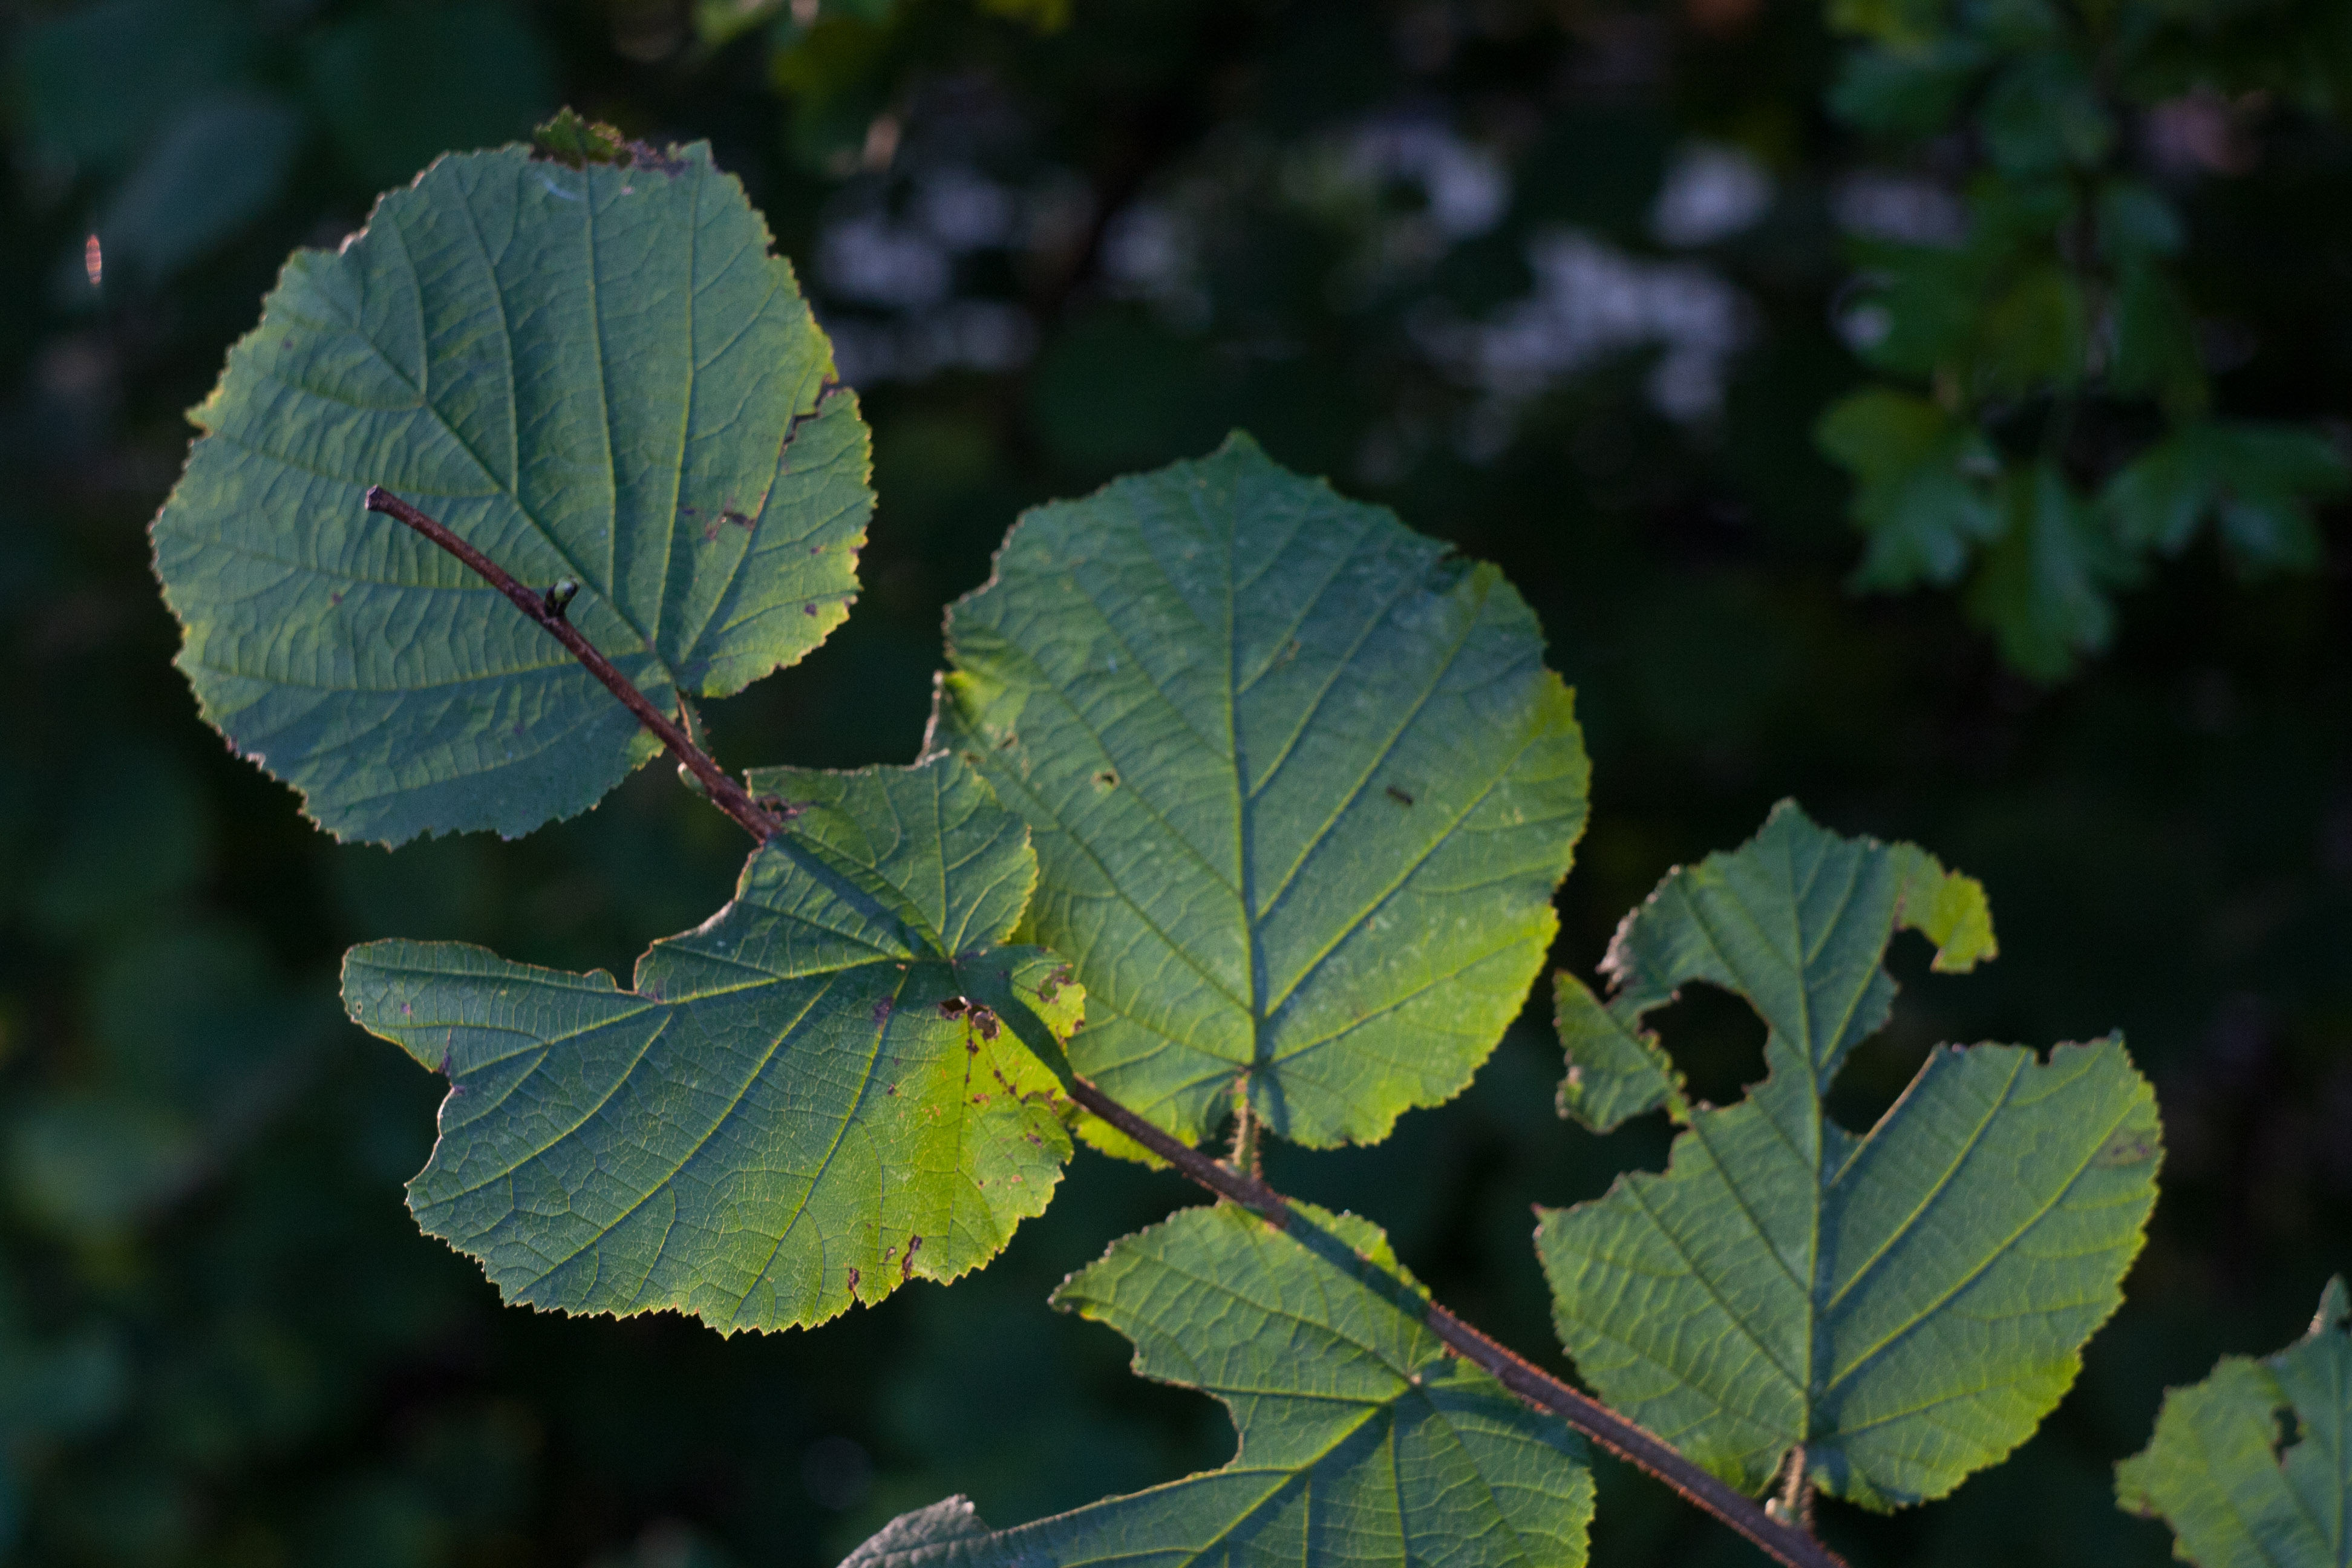
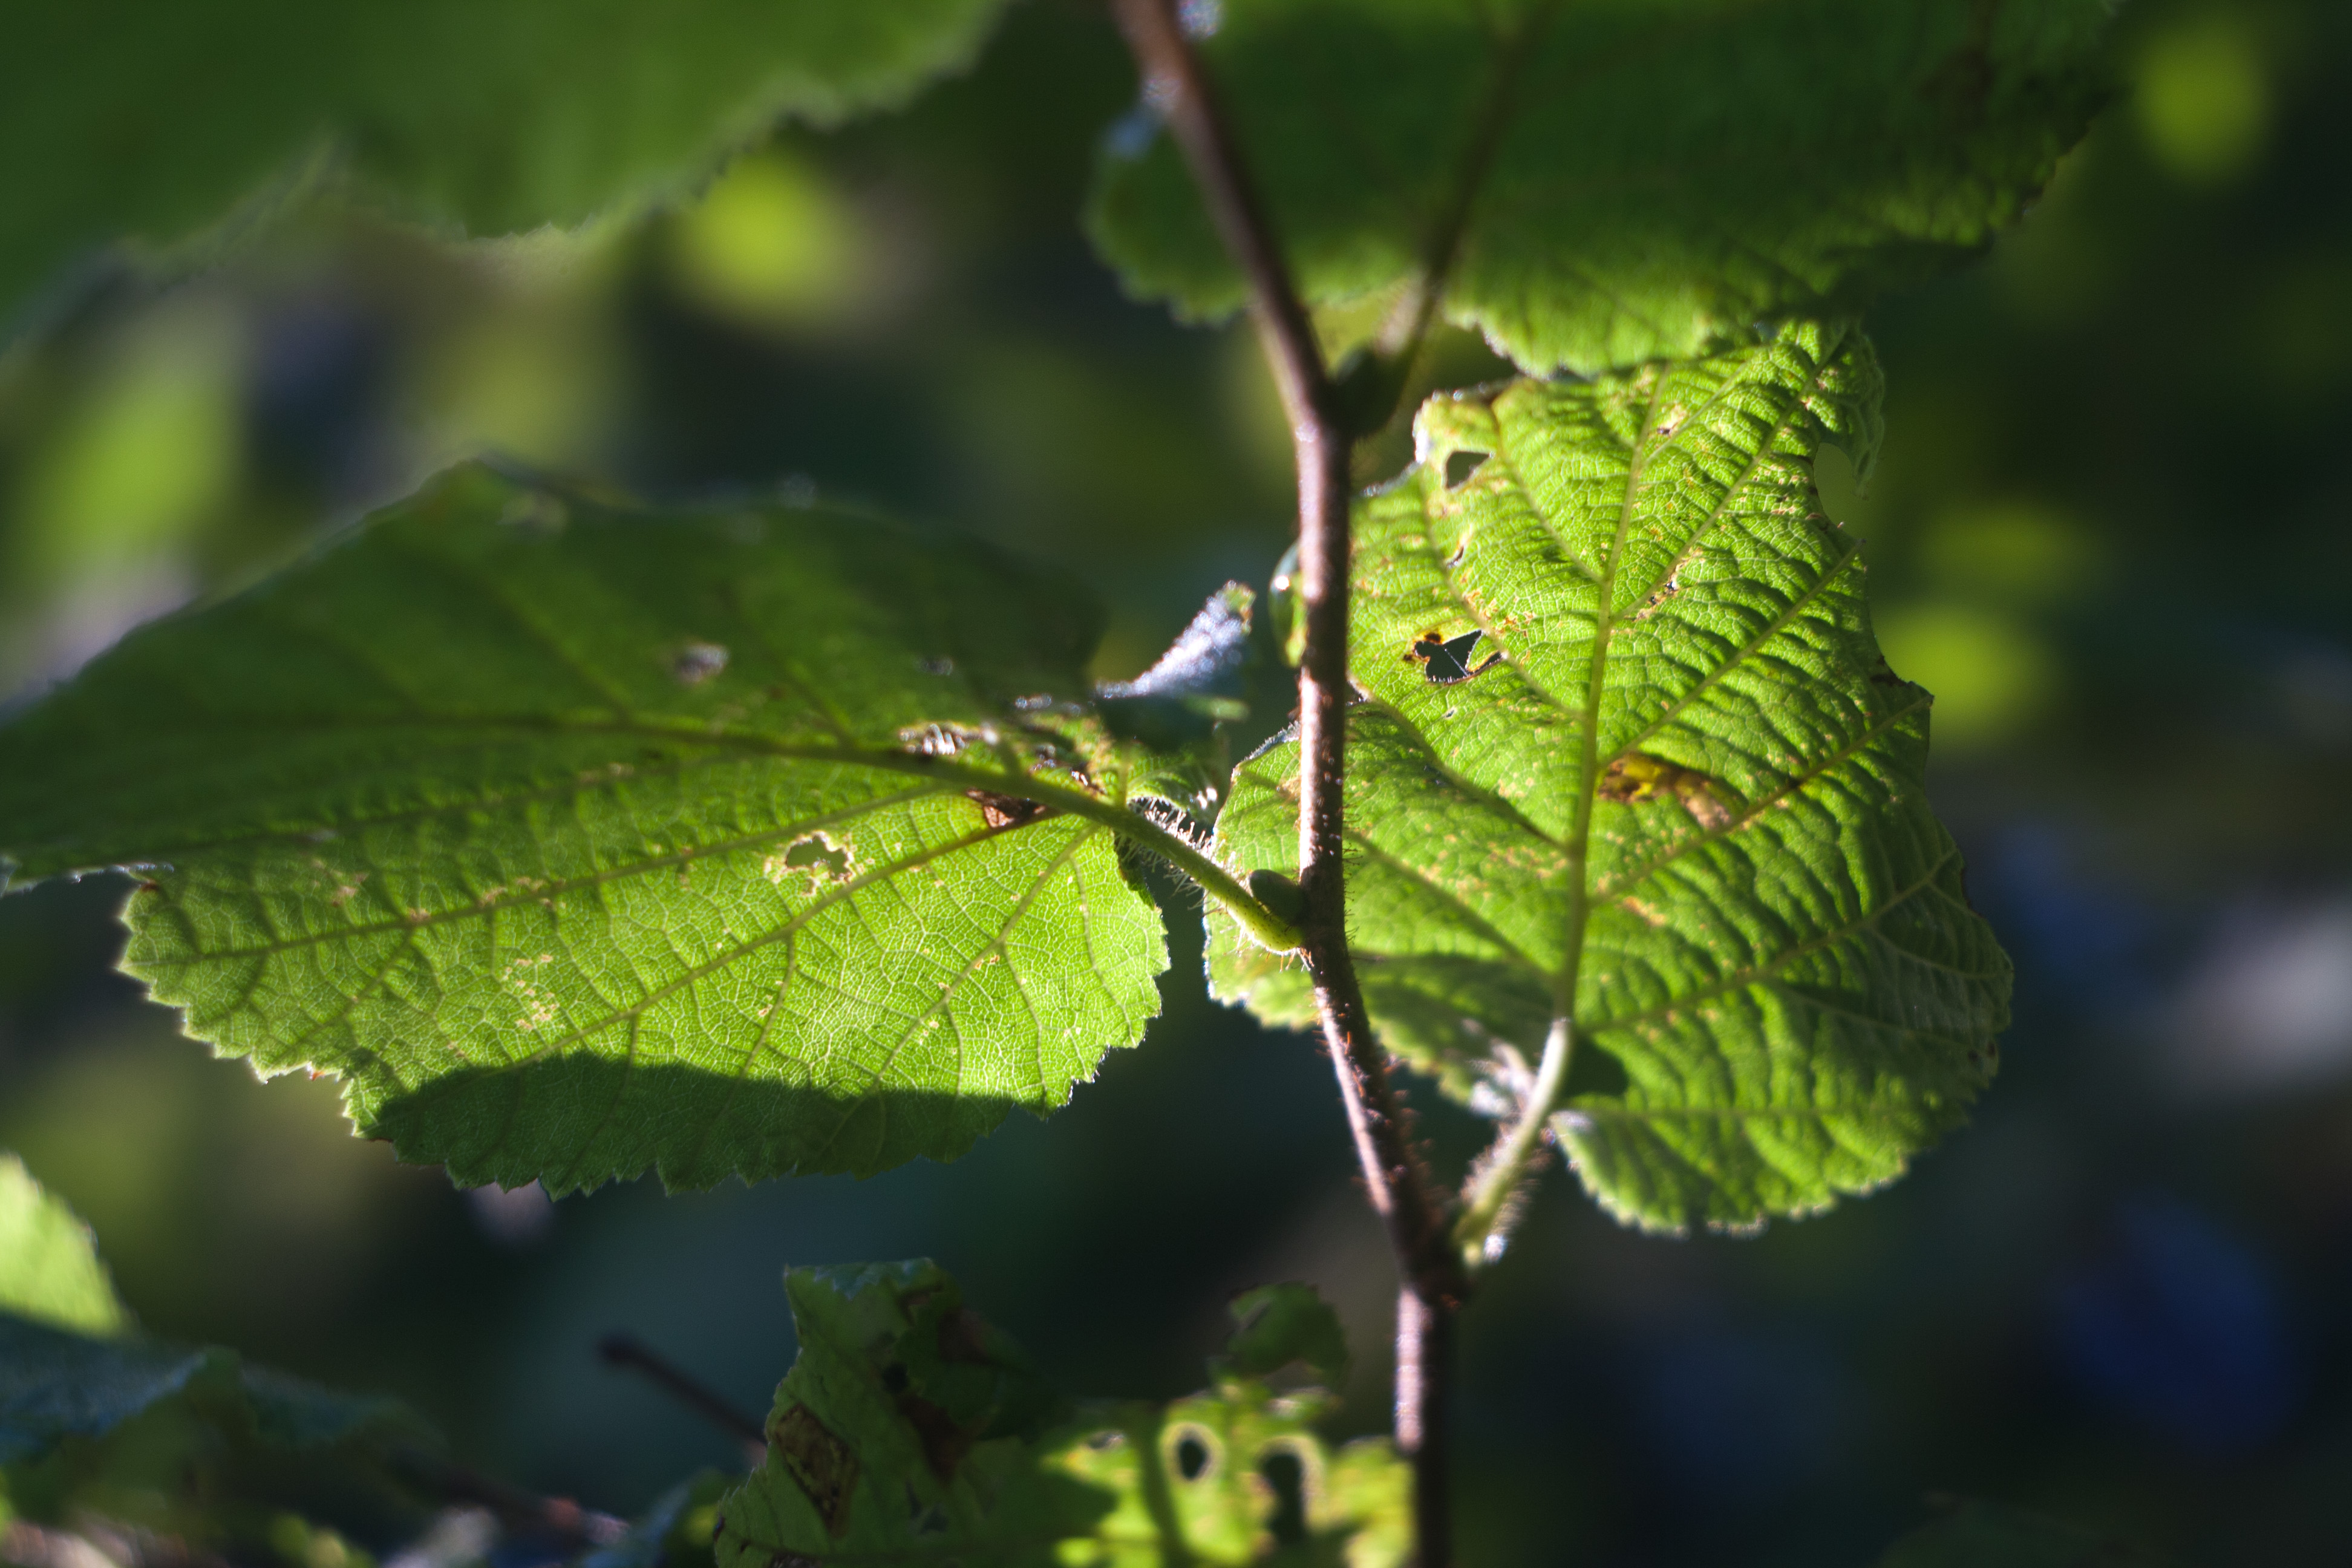
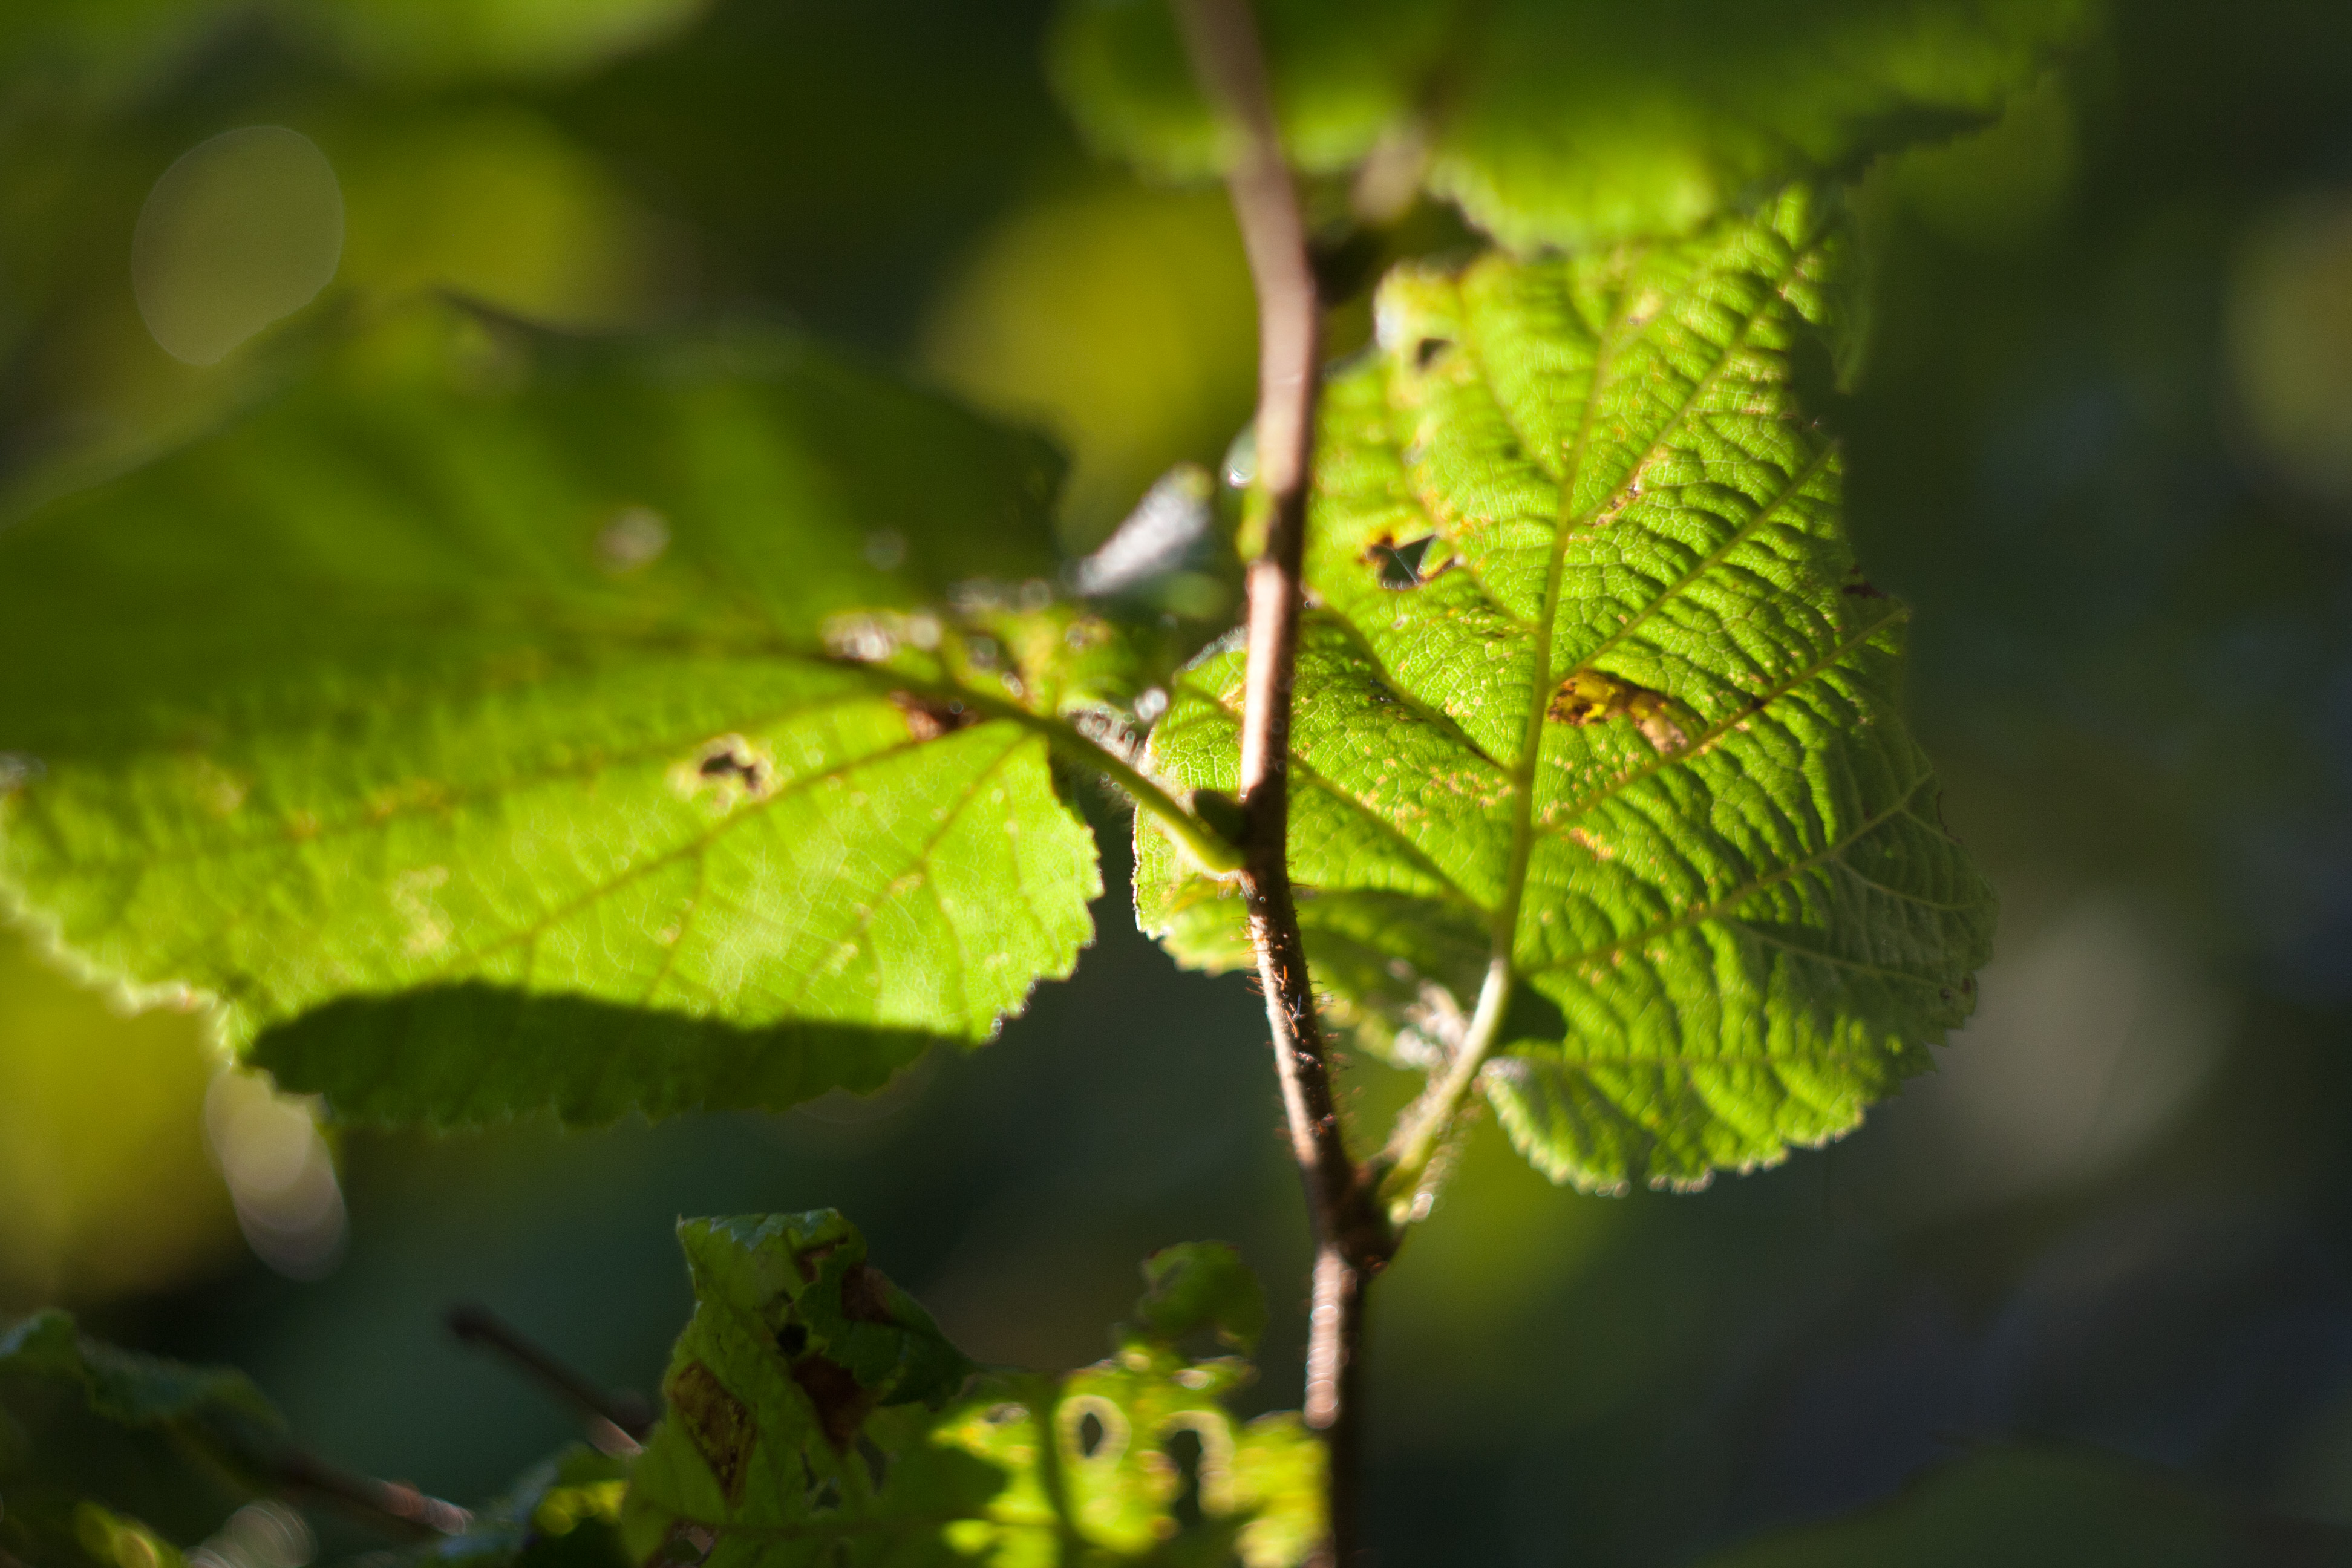
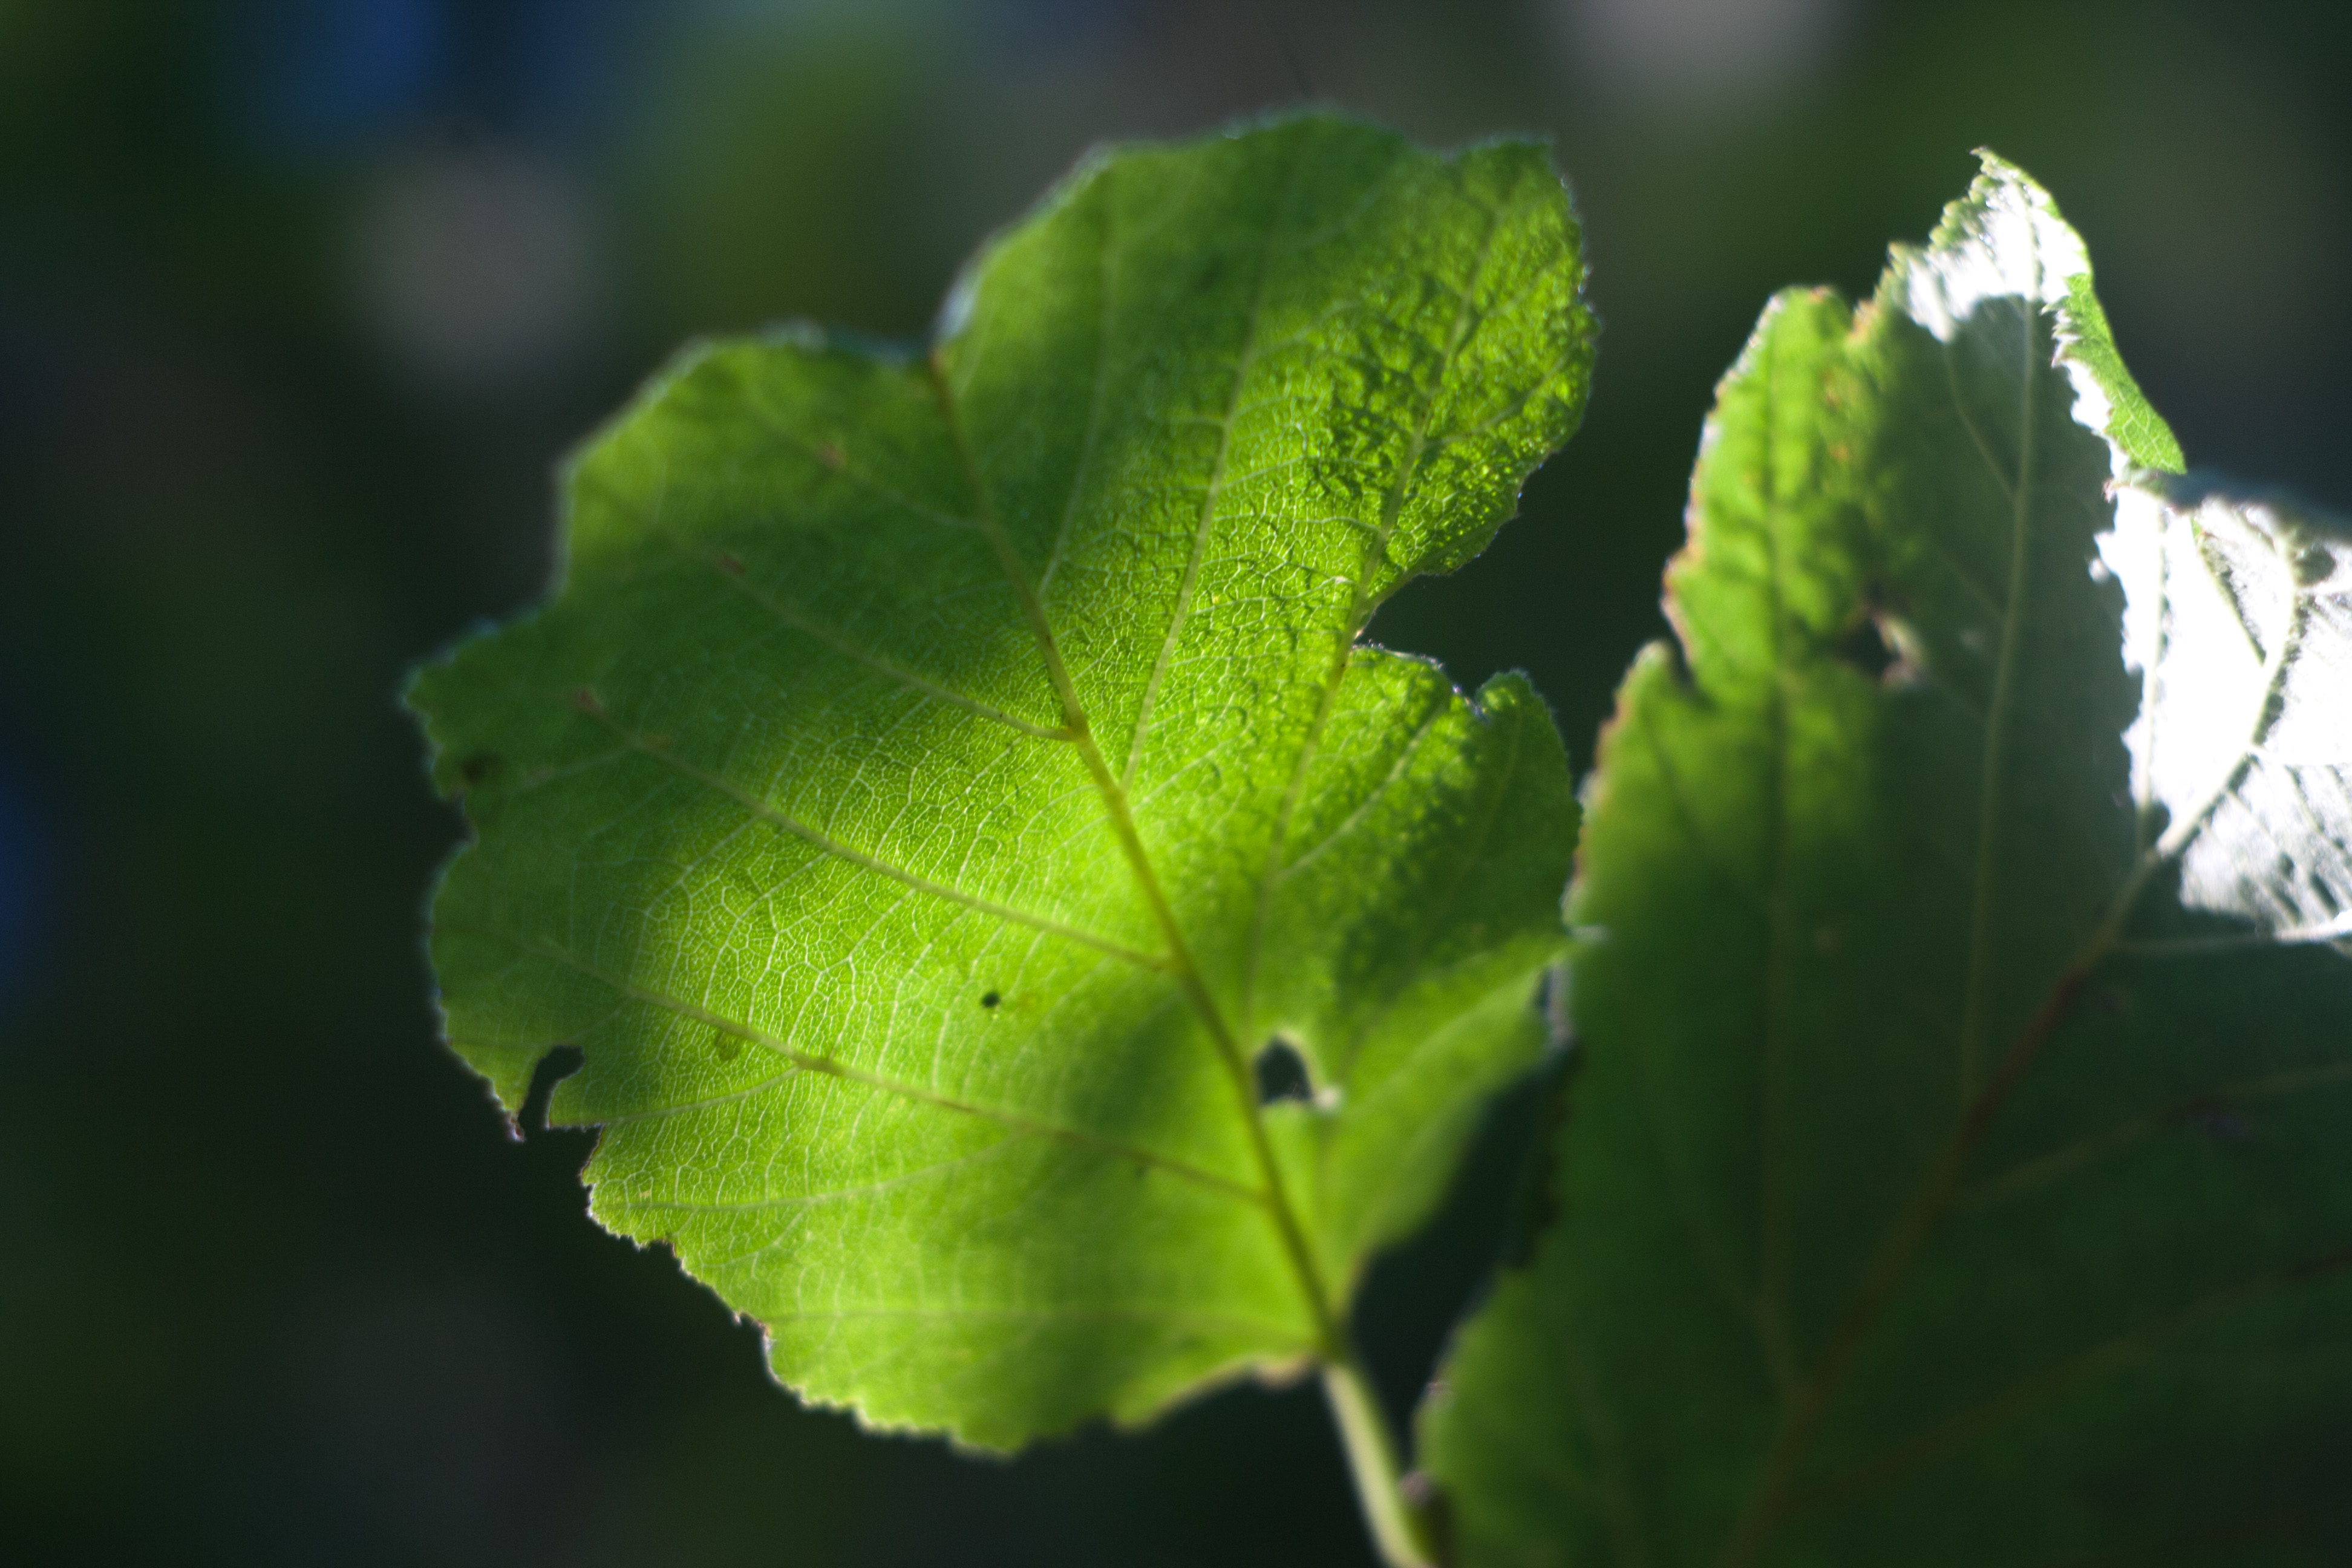
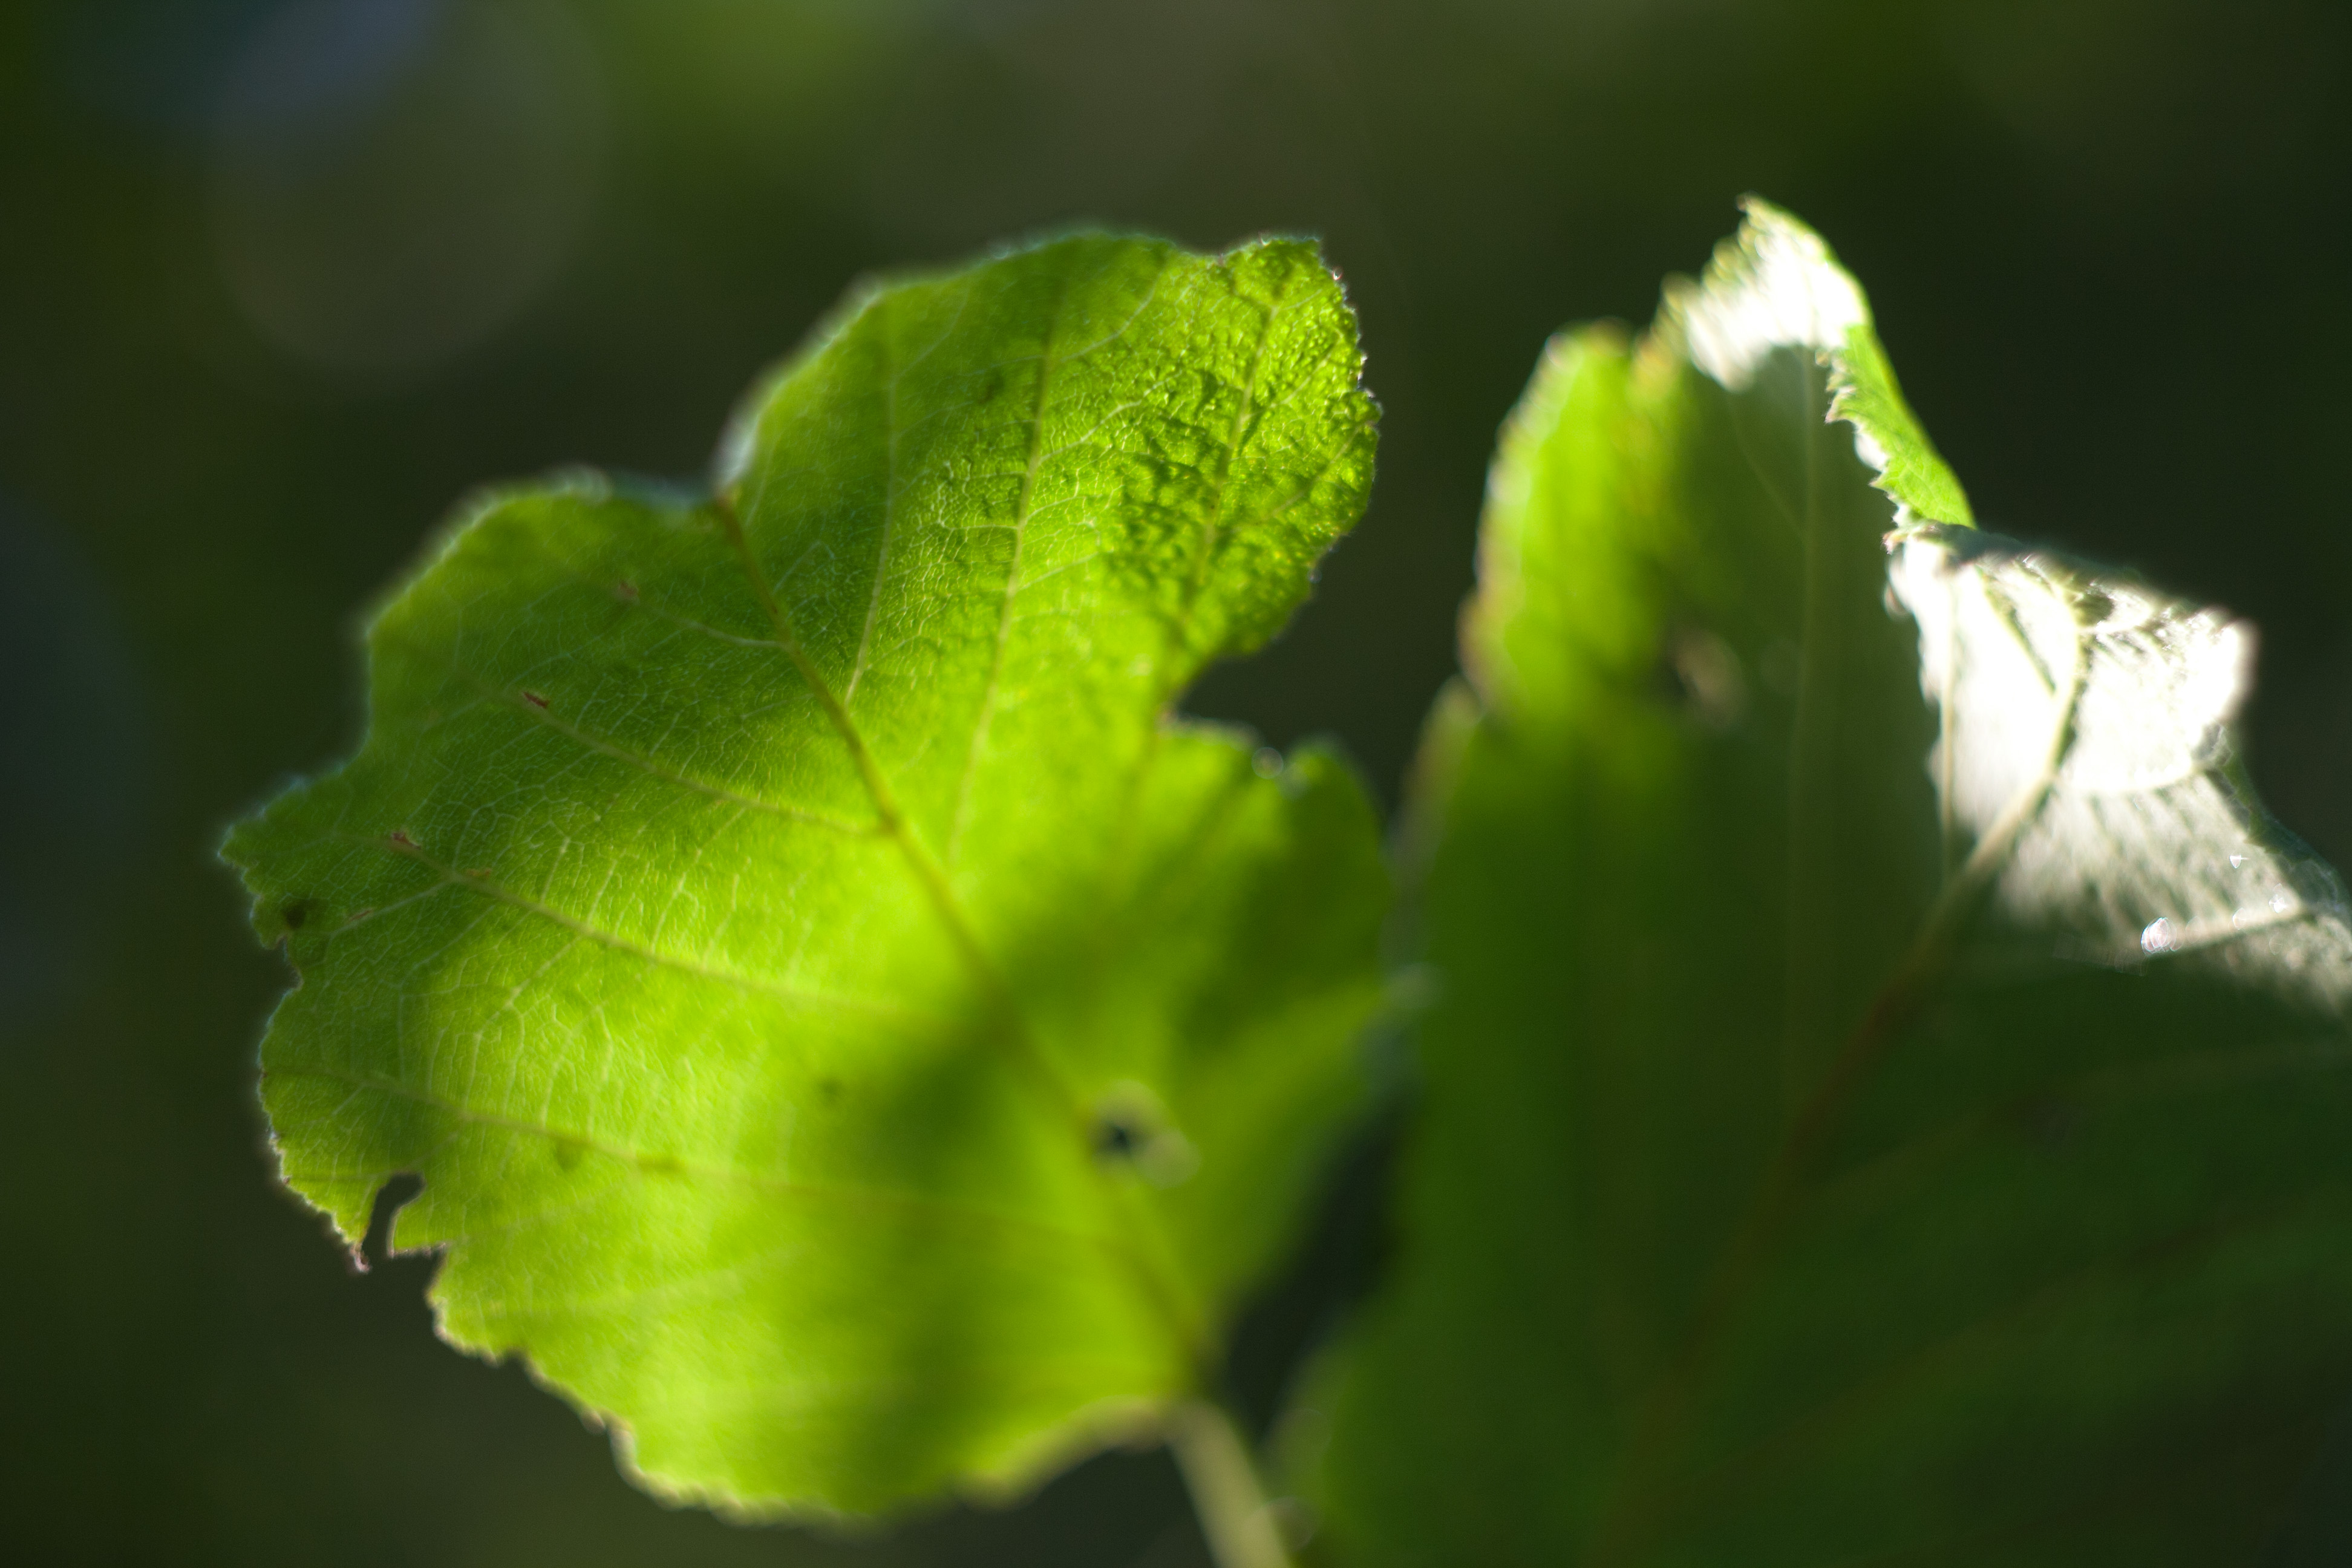
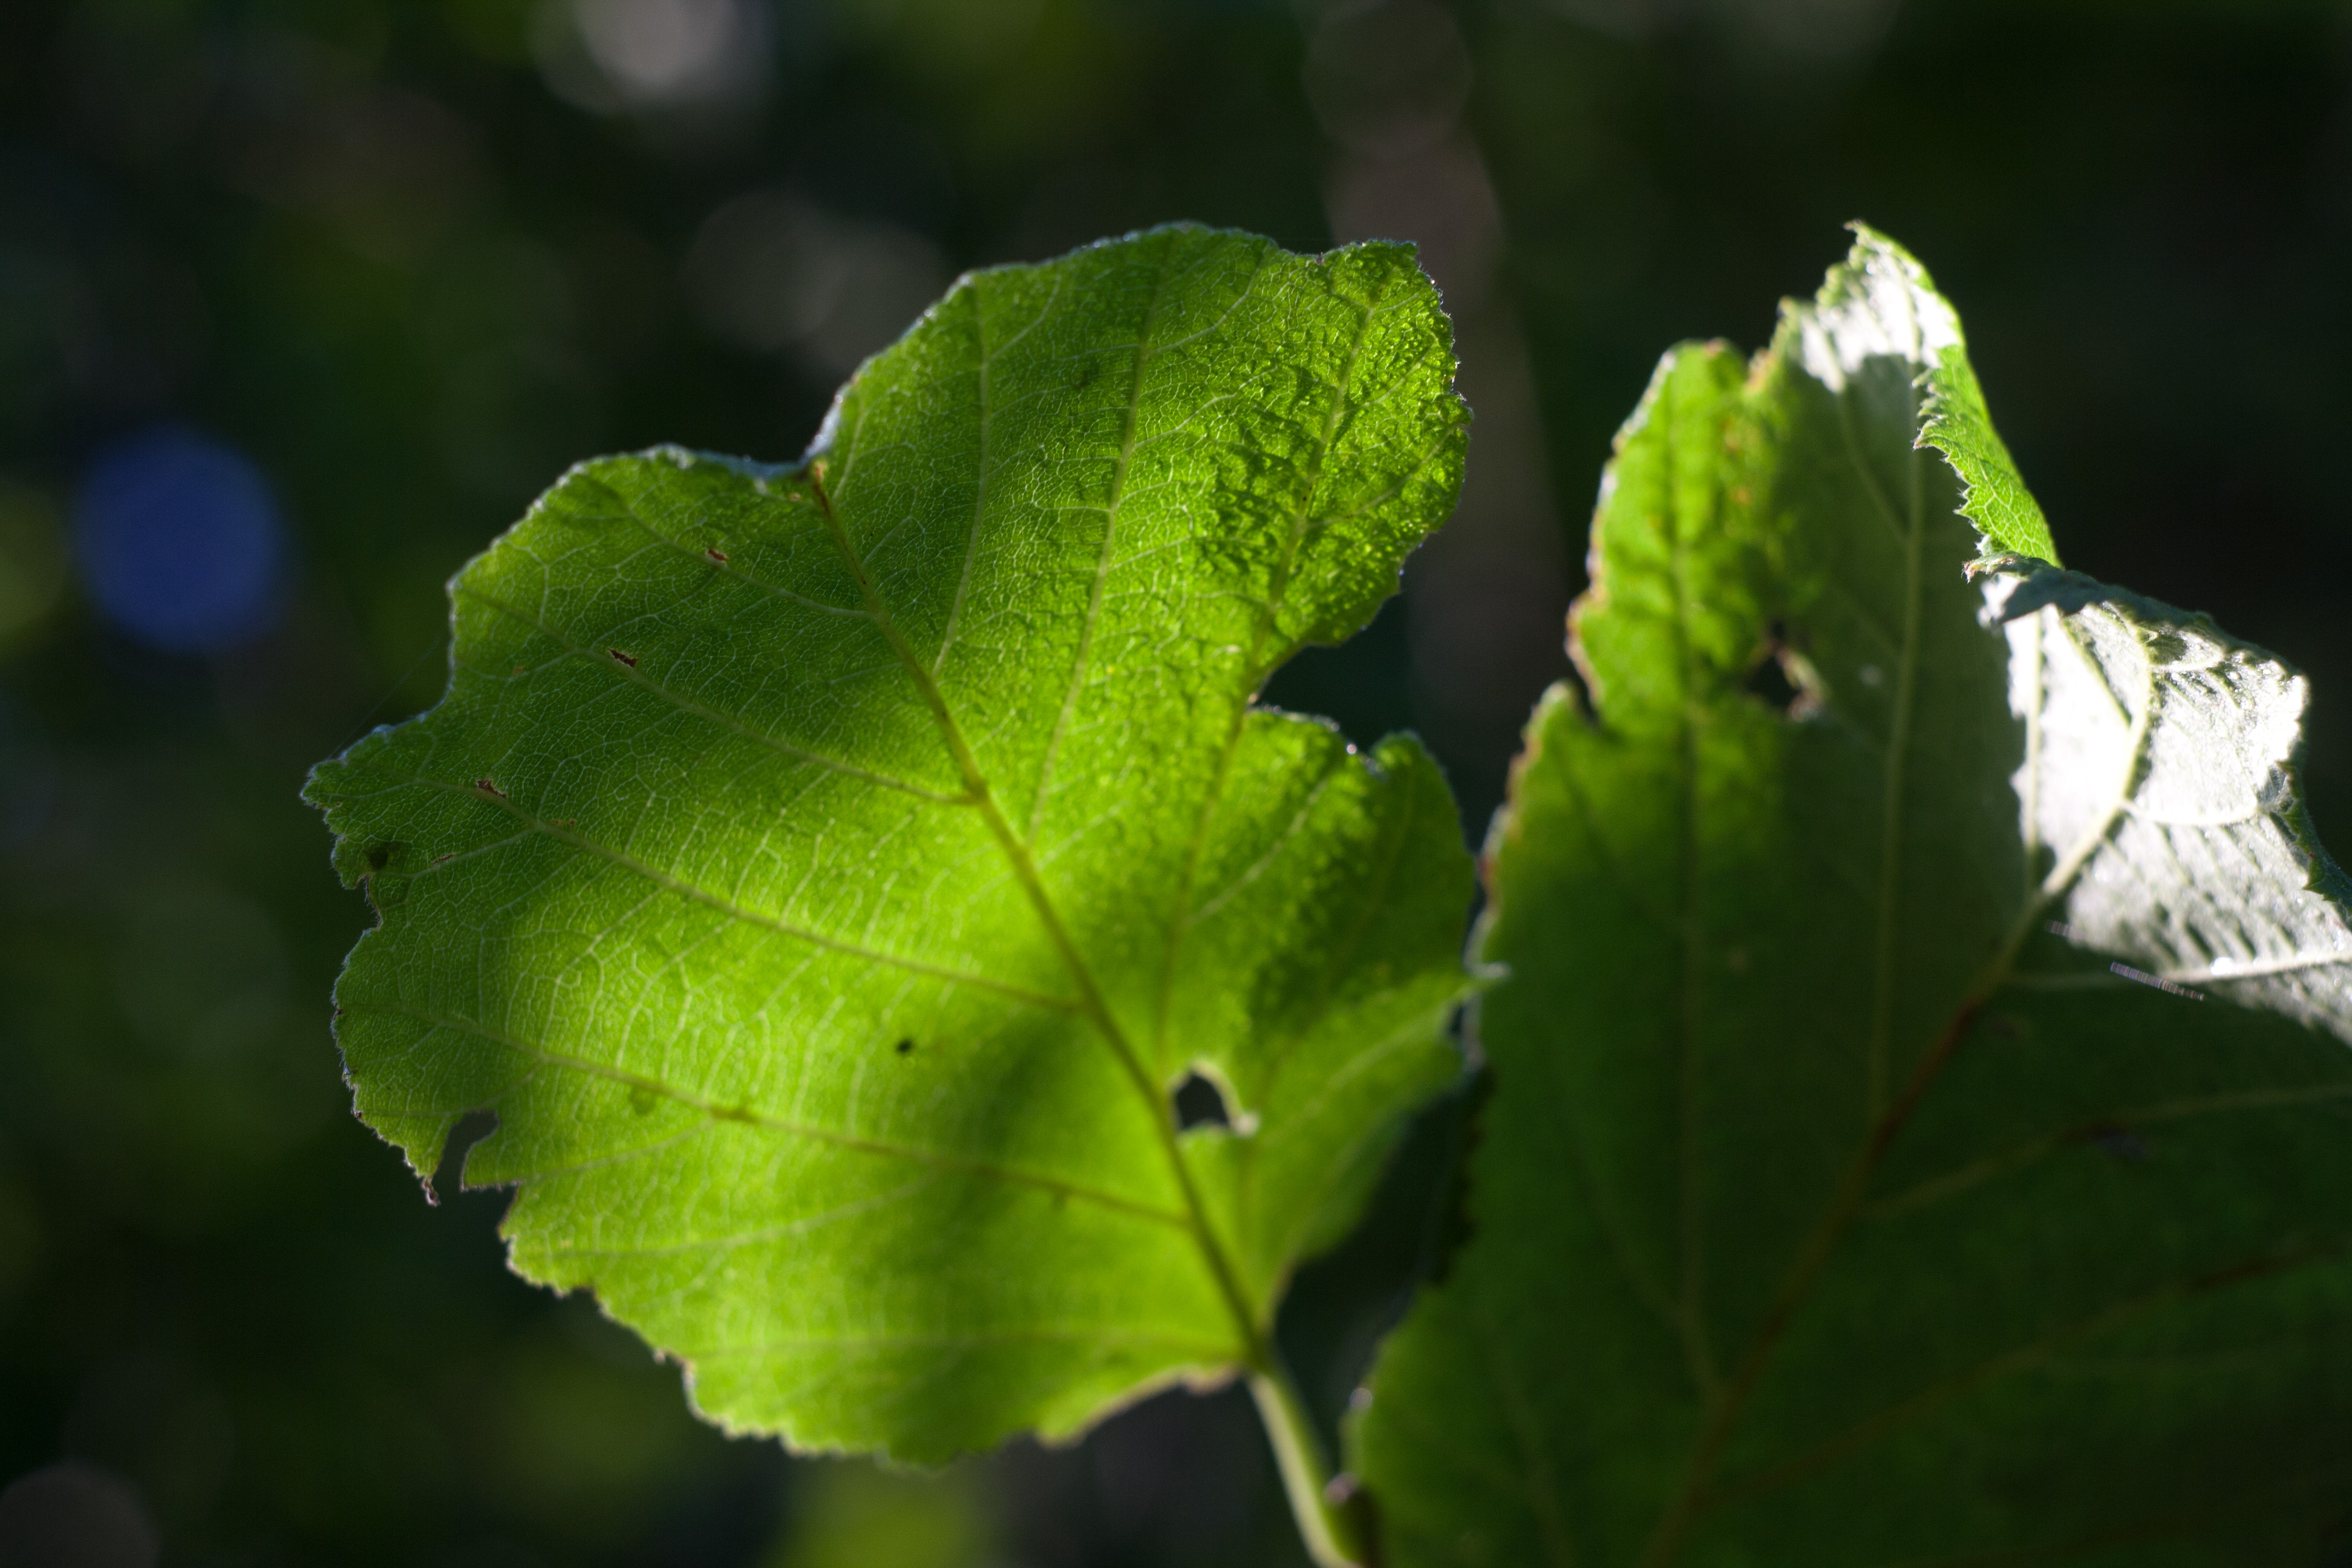
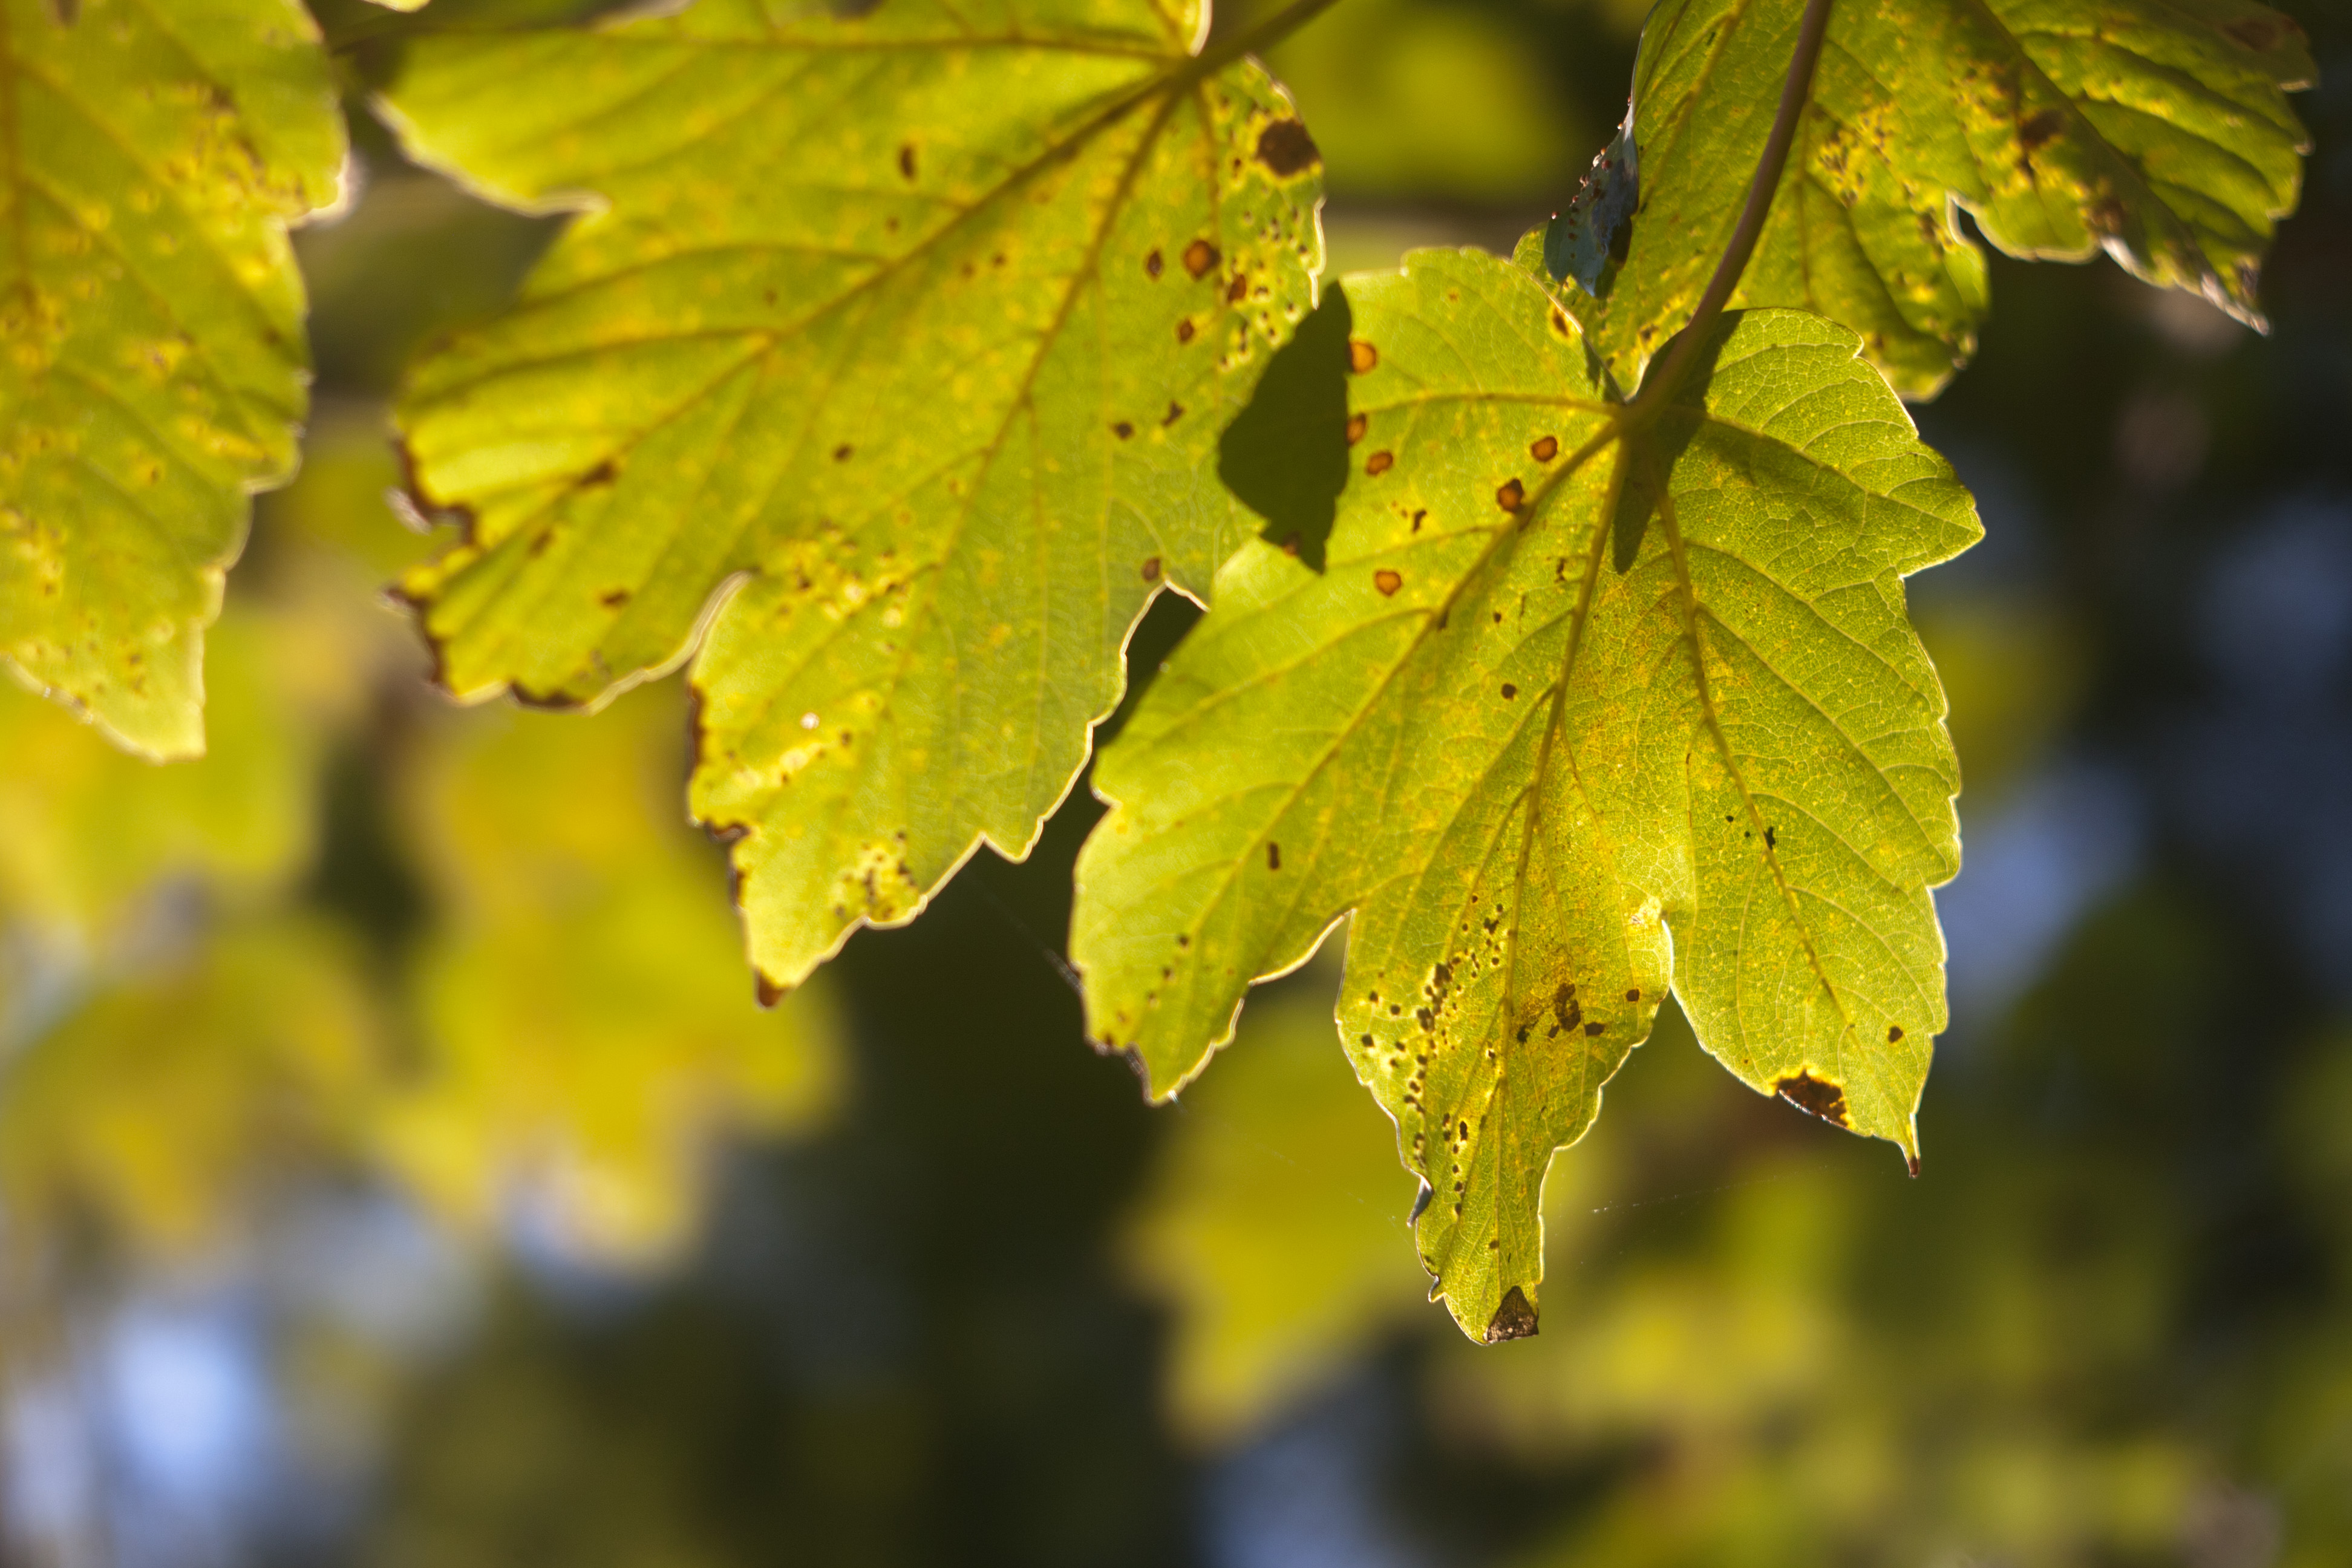
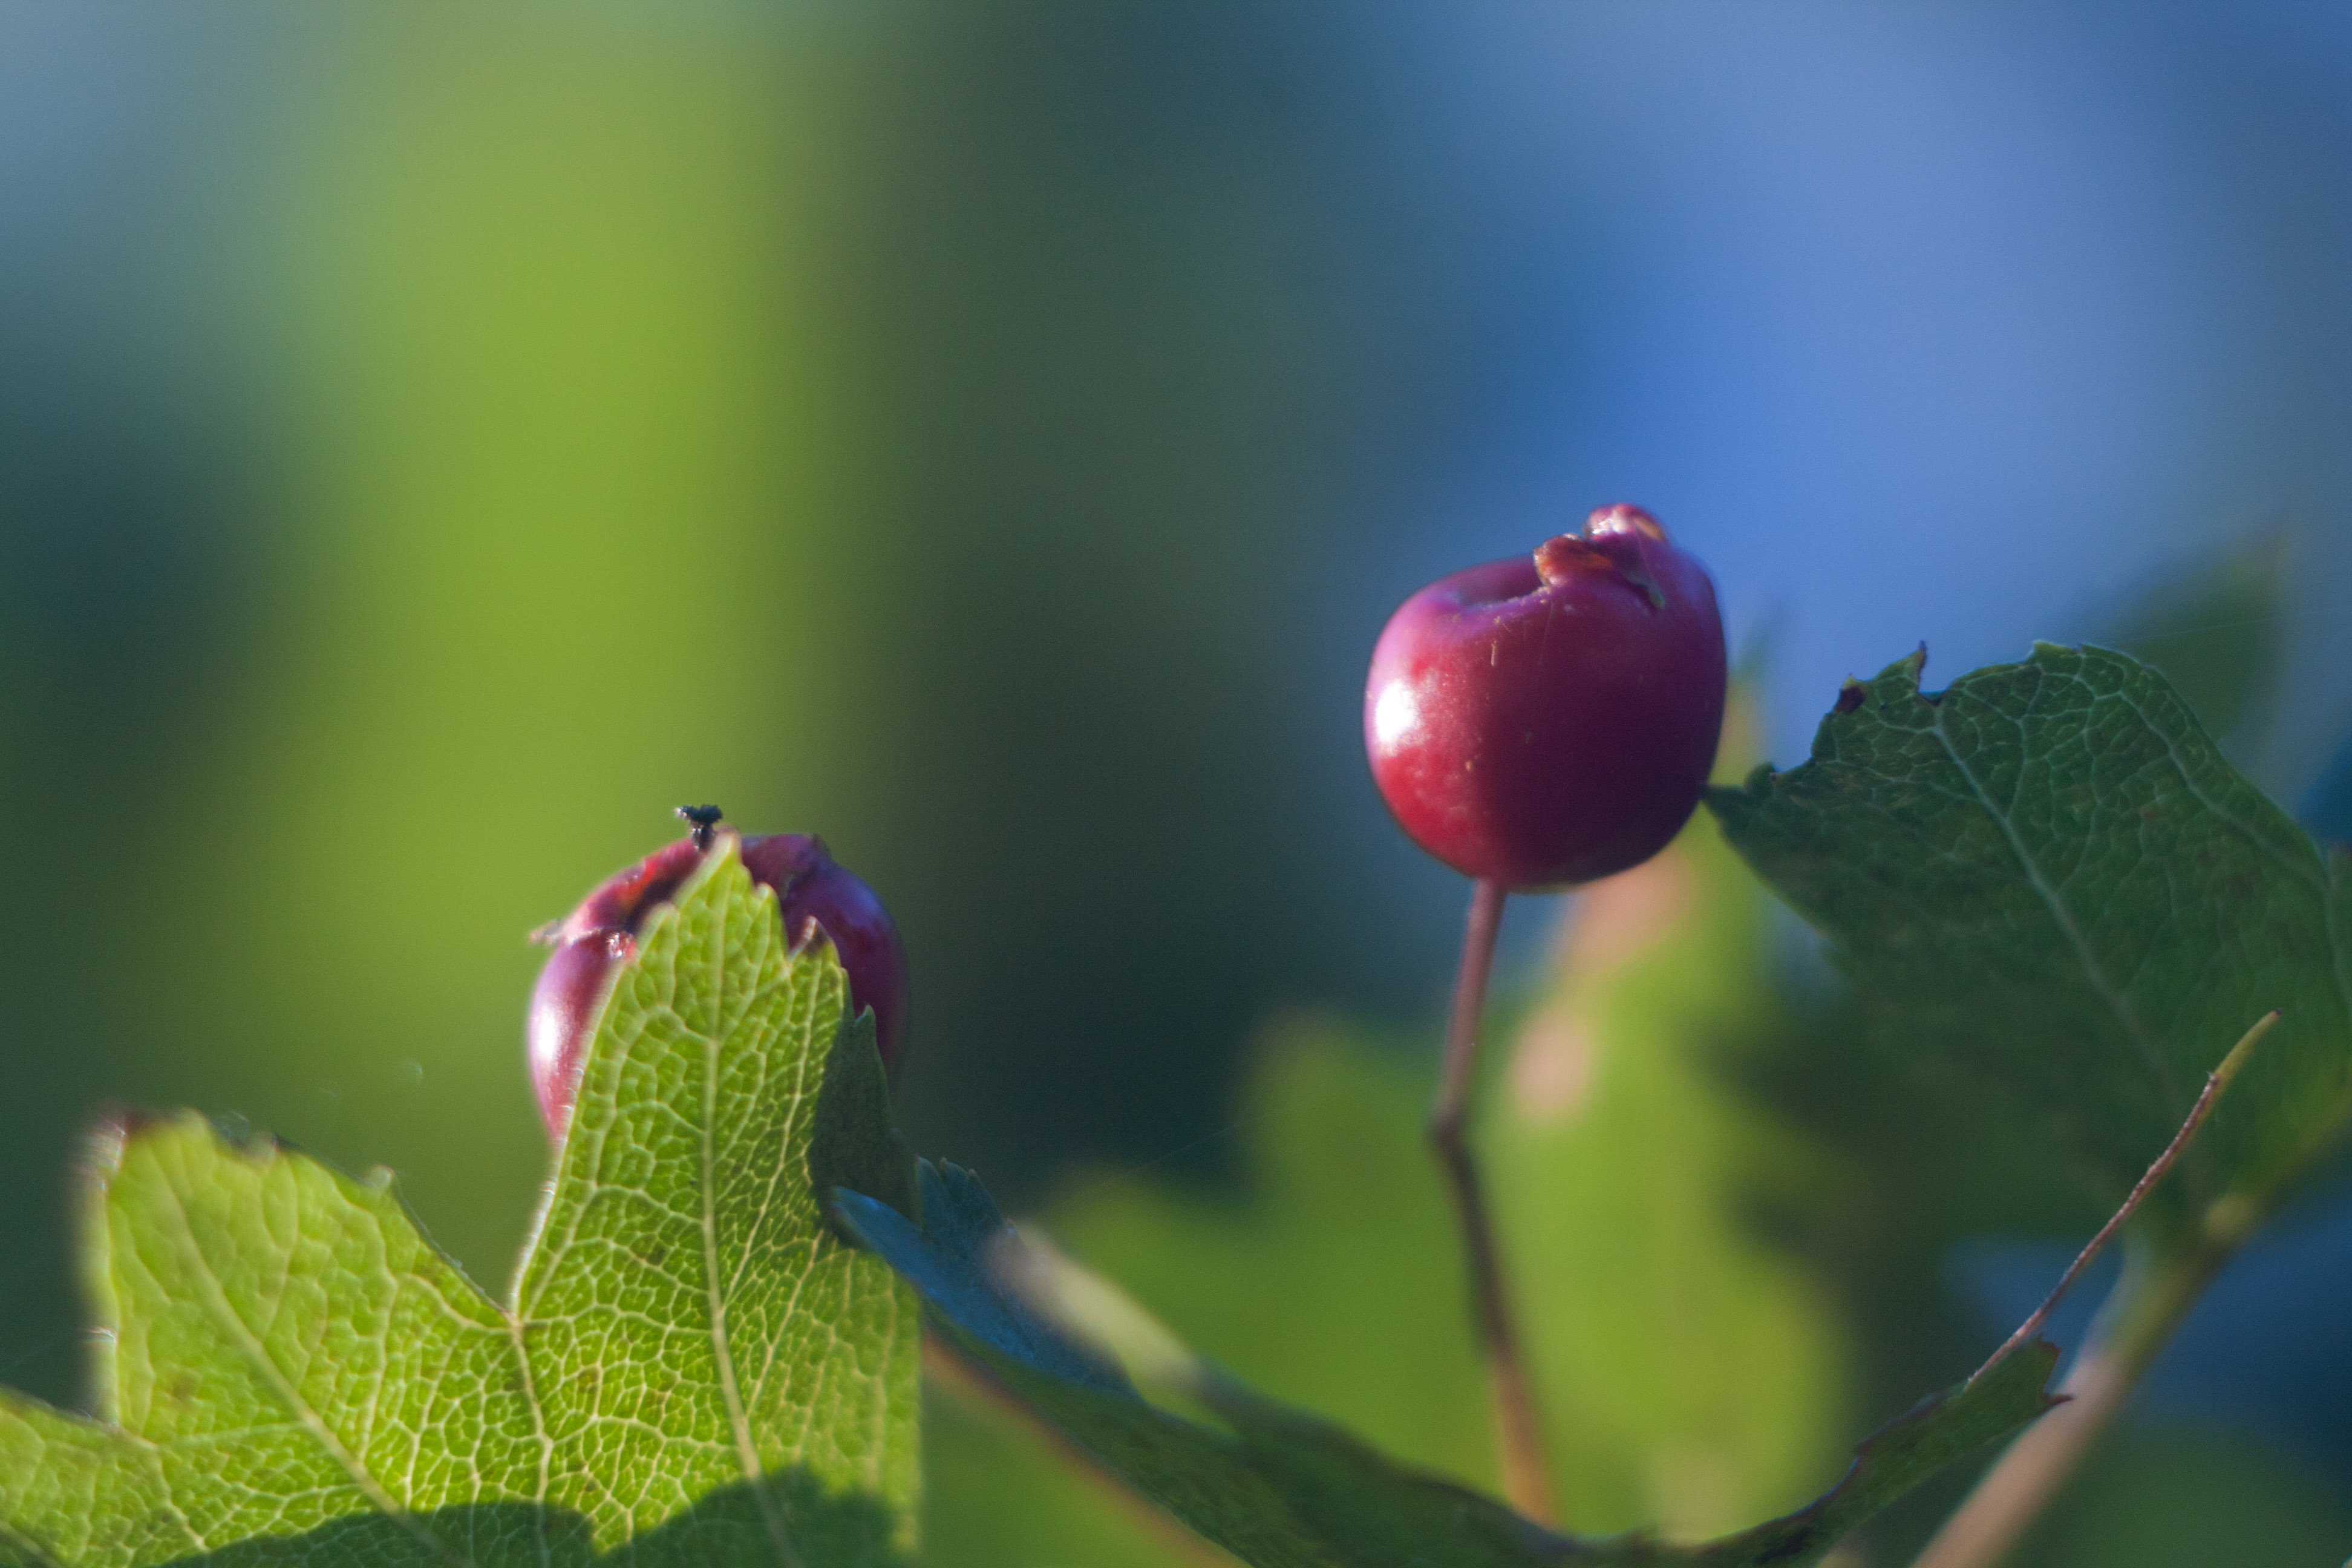
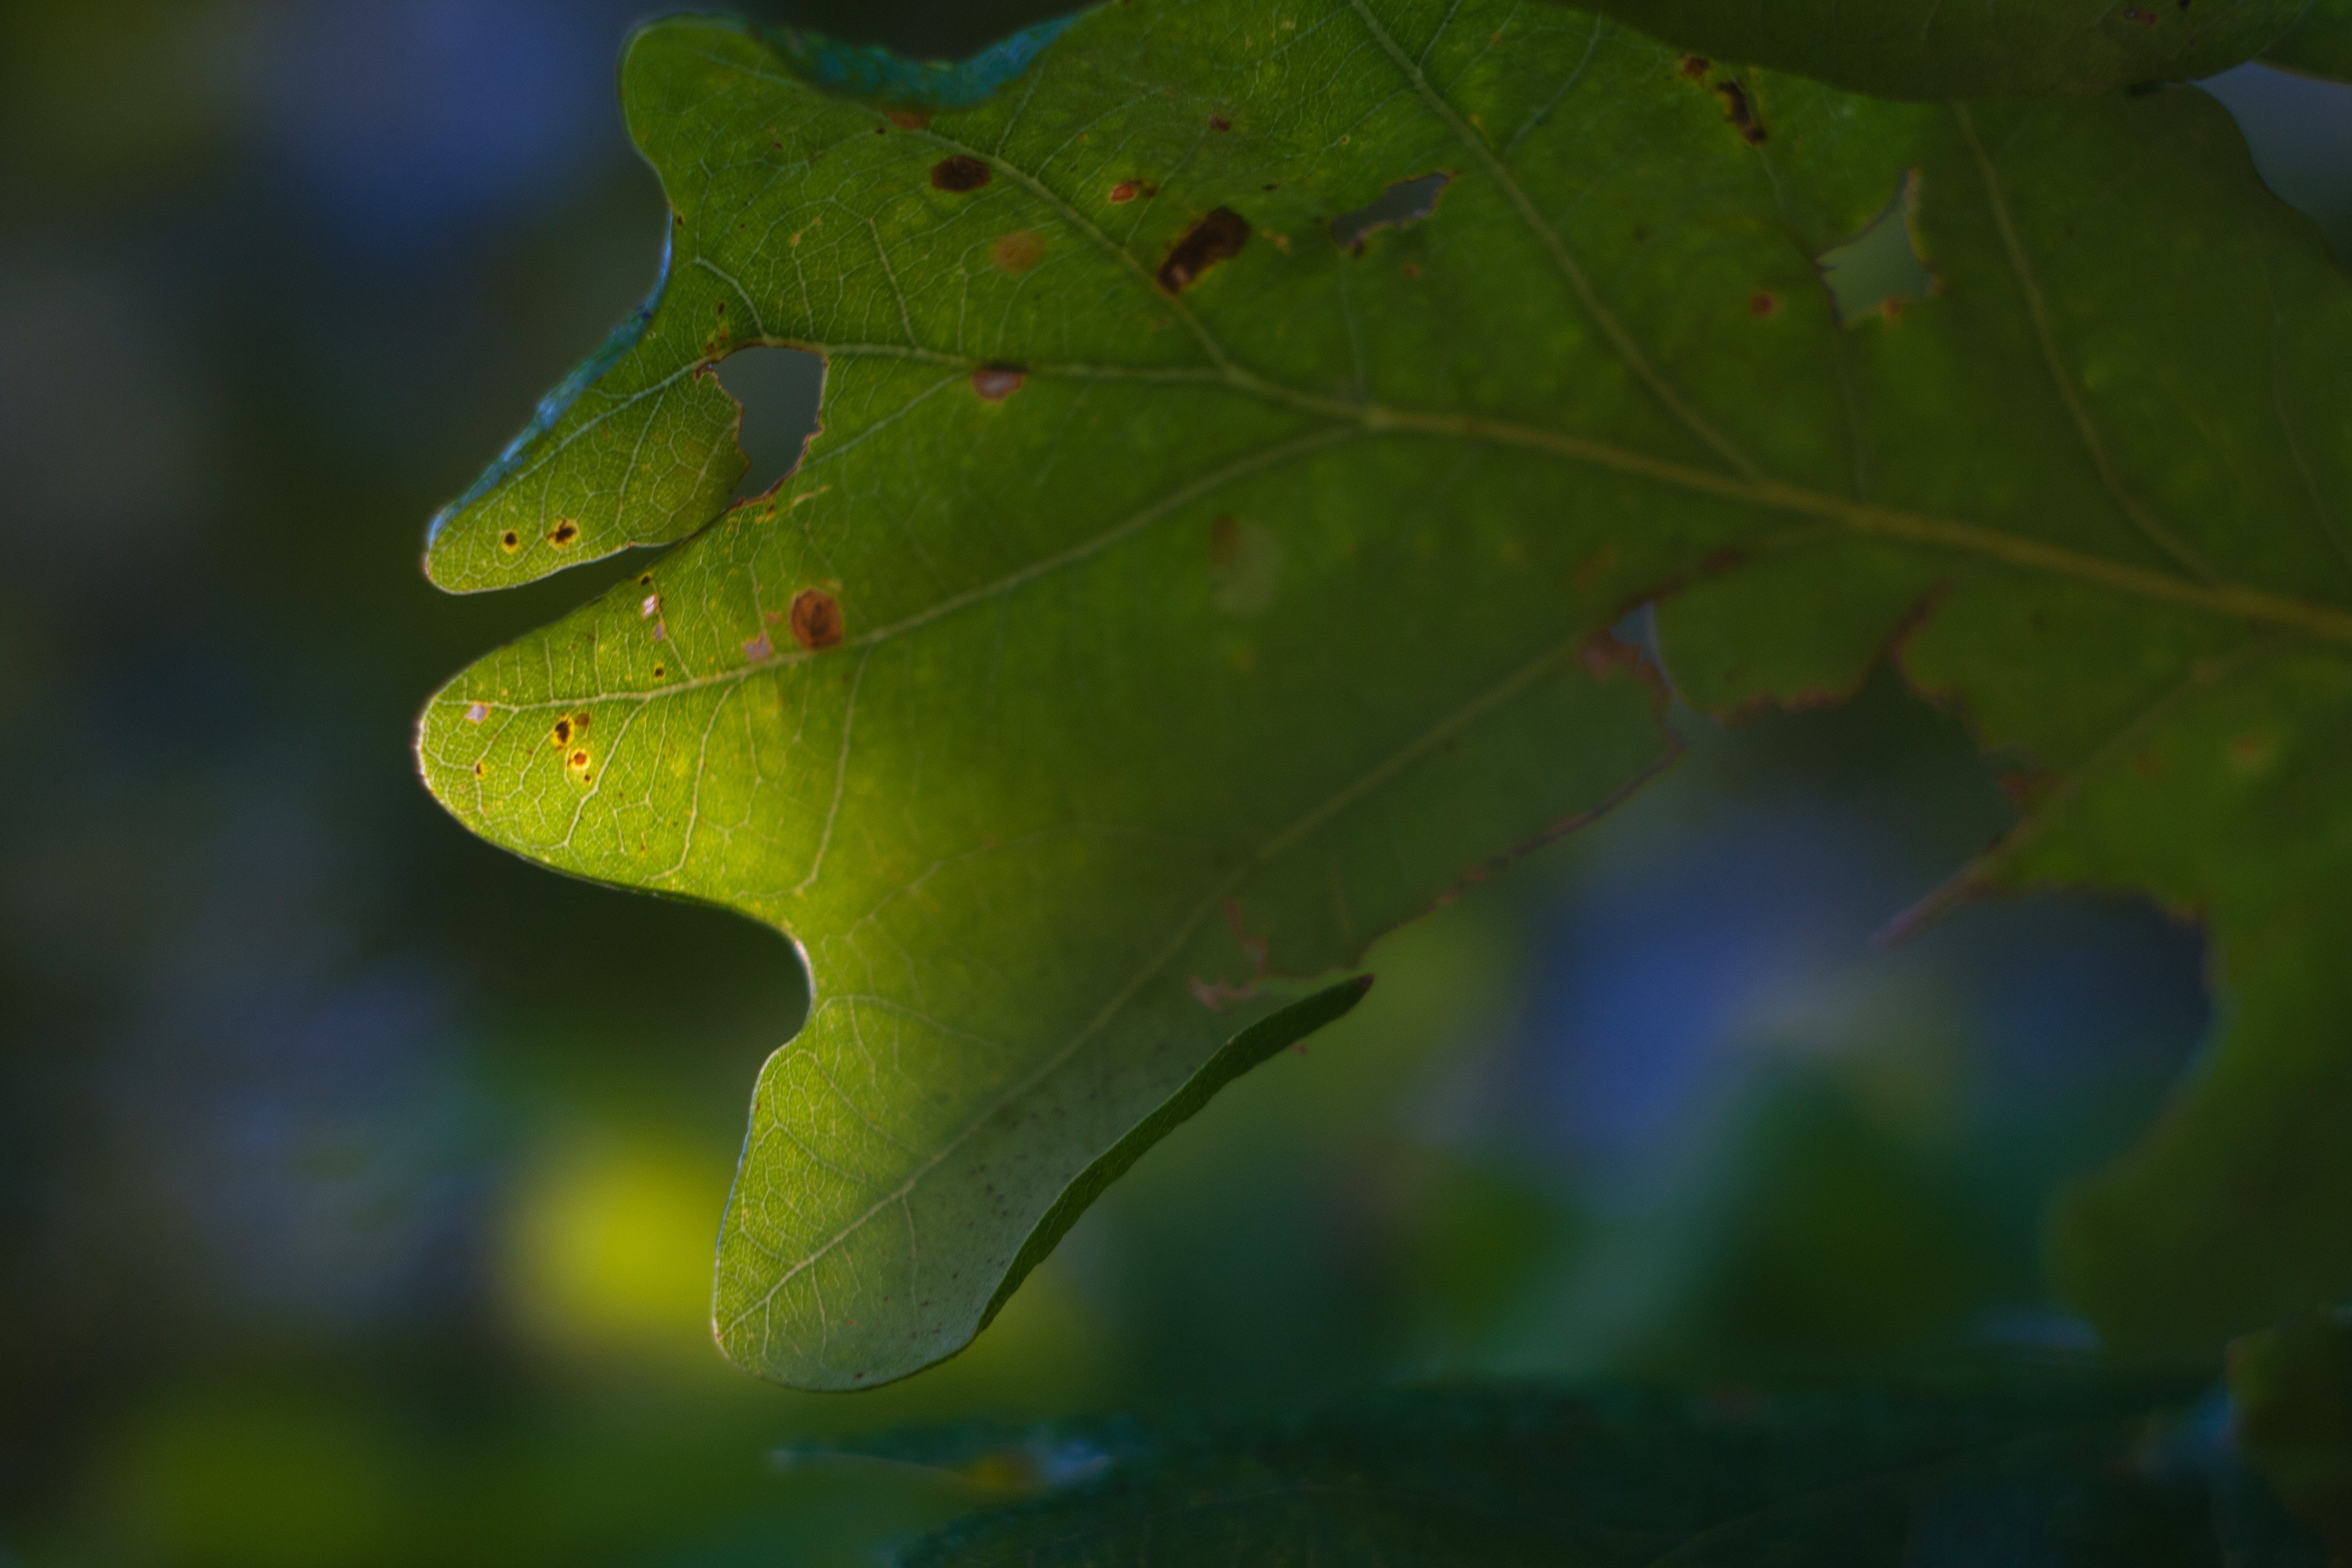
Some Comparison Images
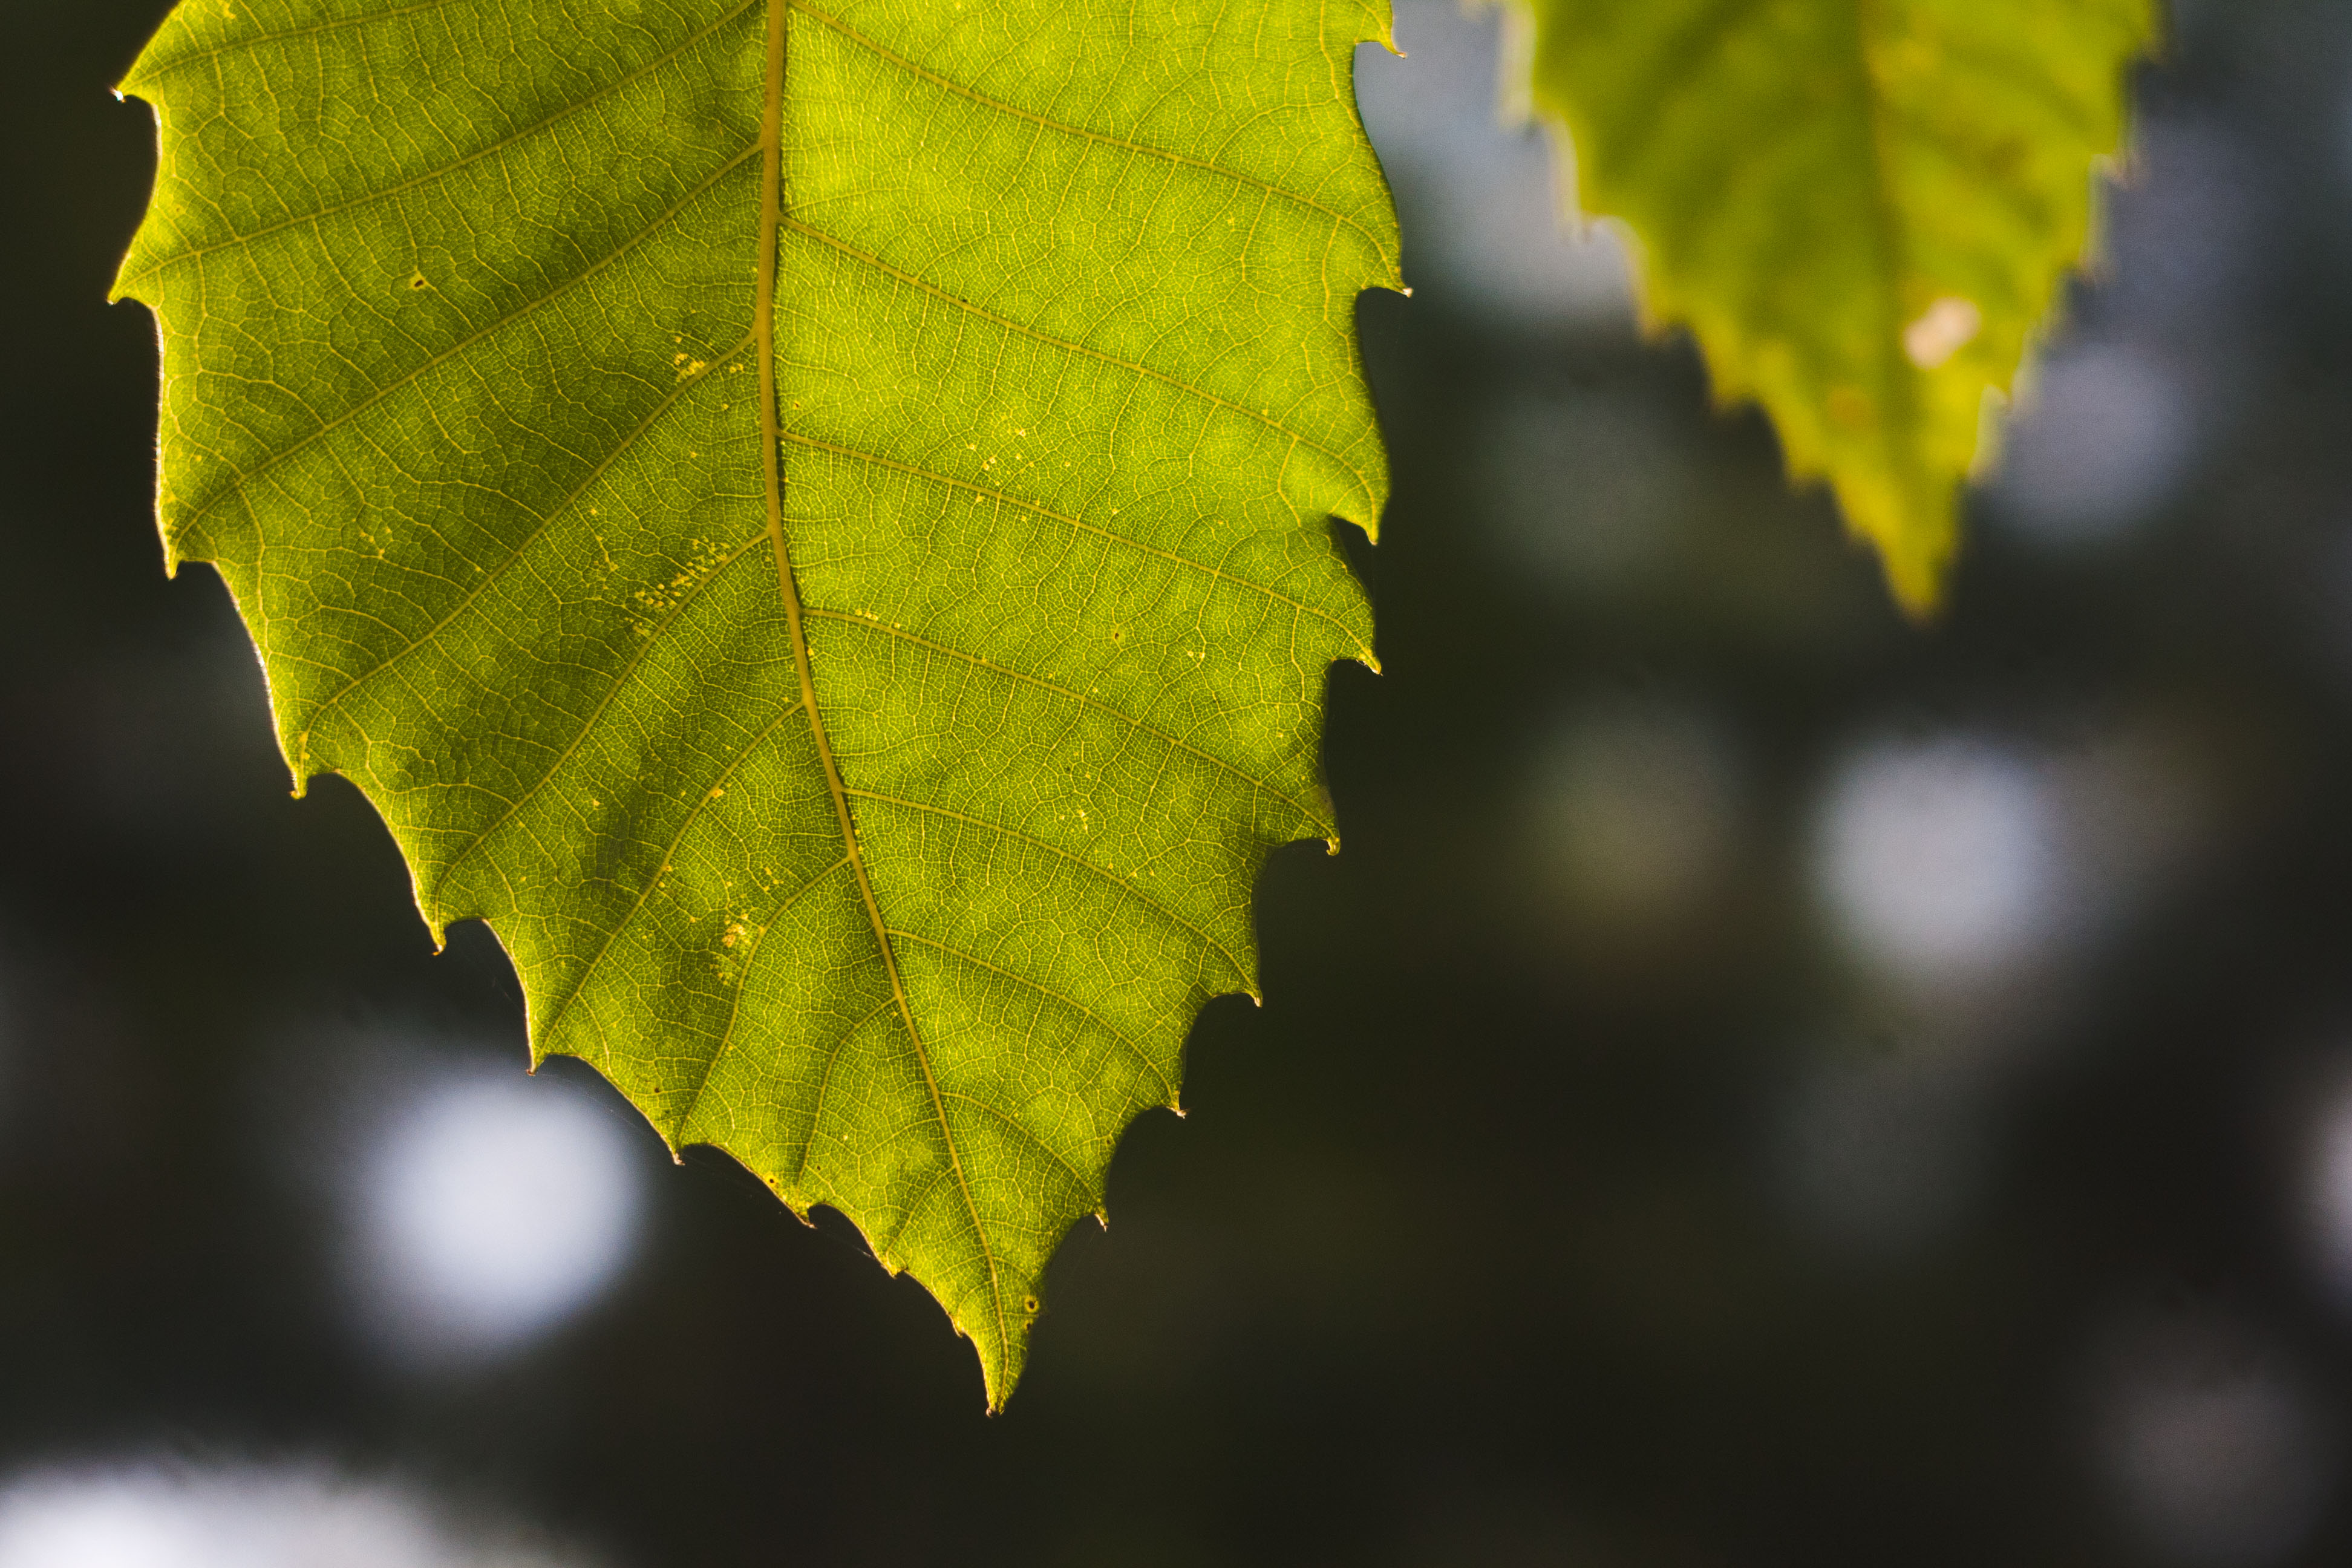
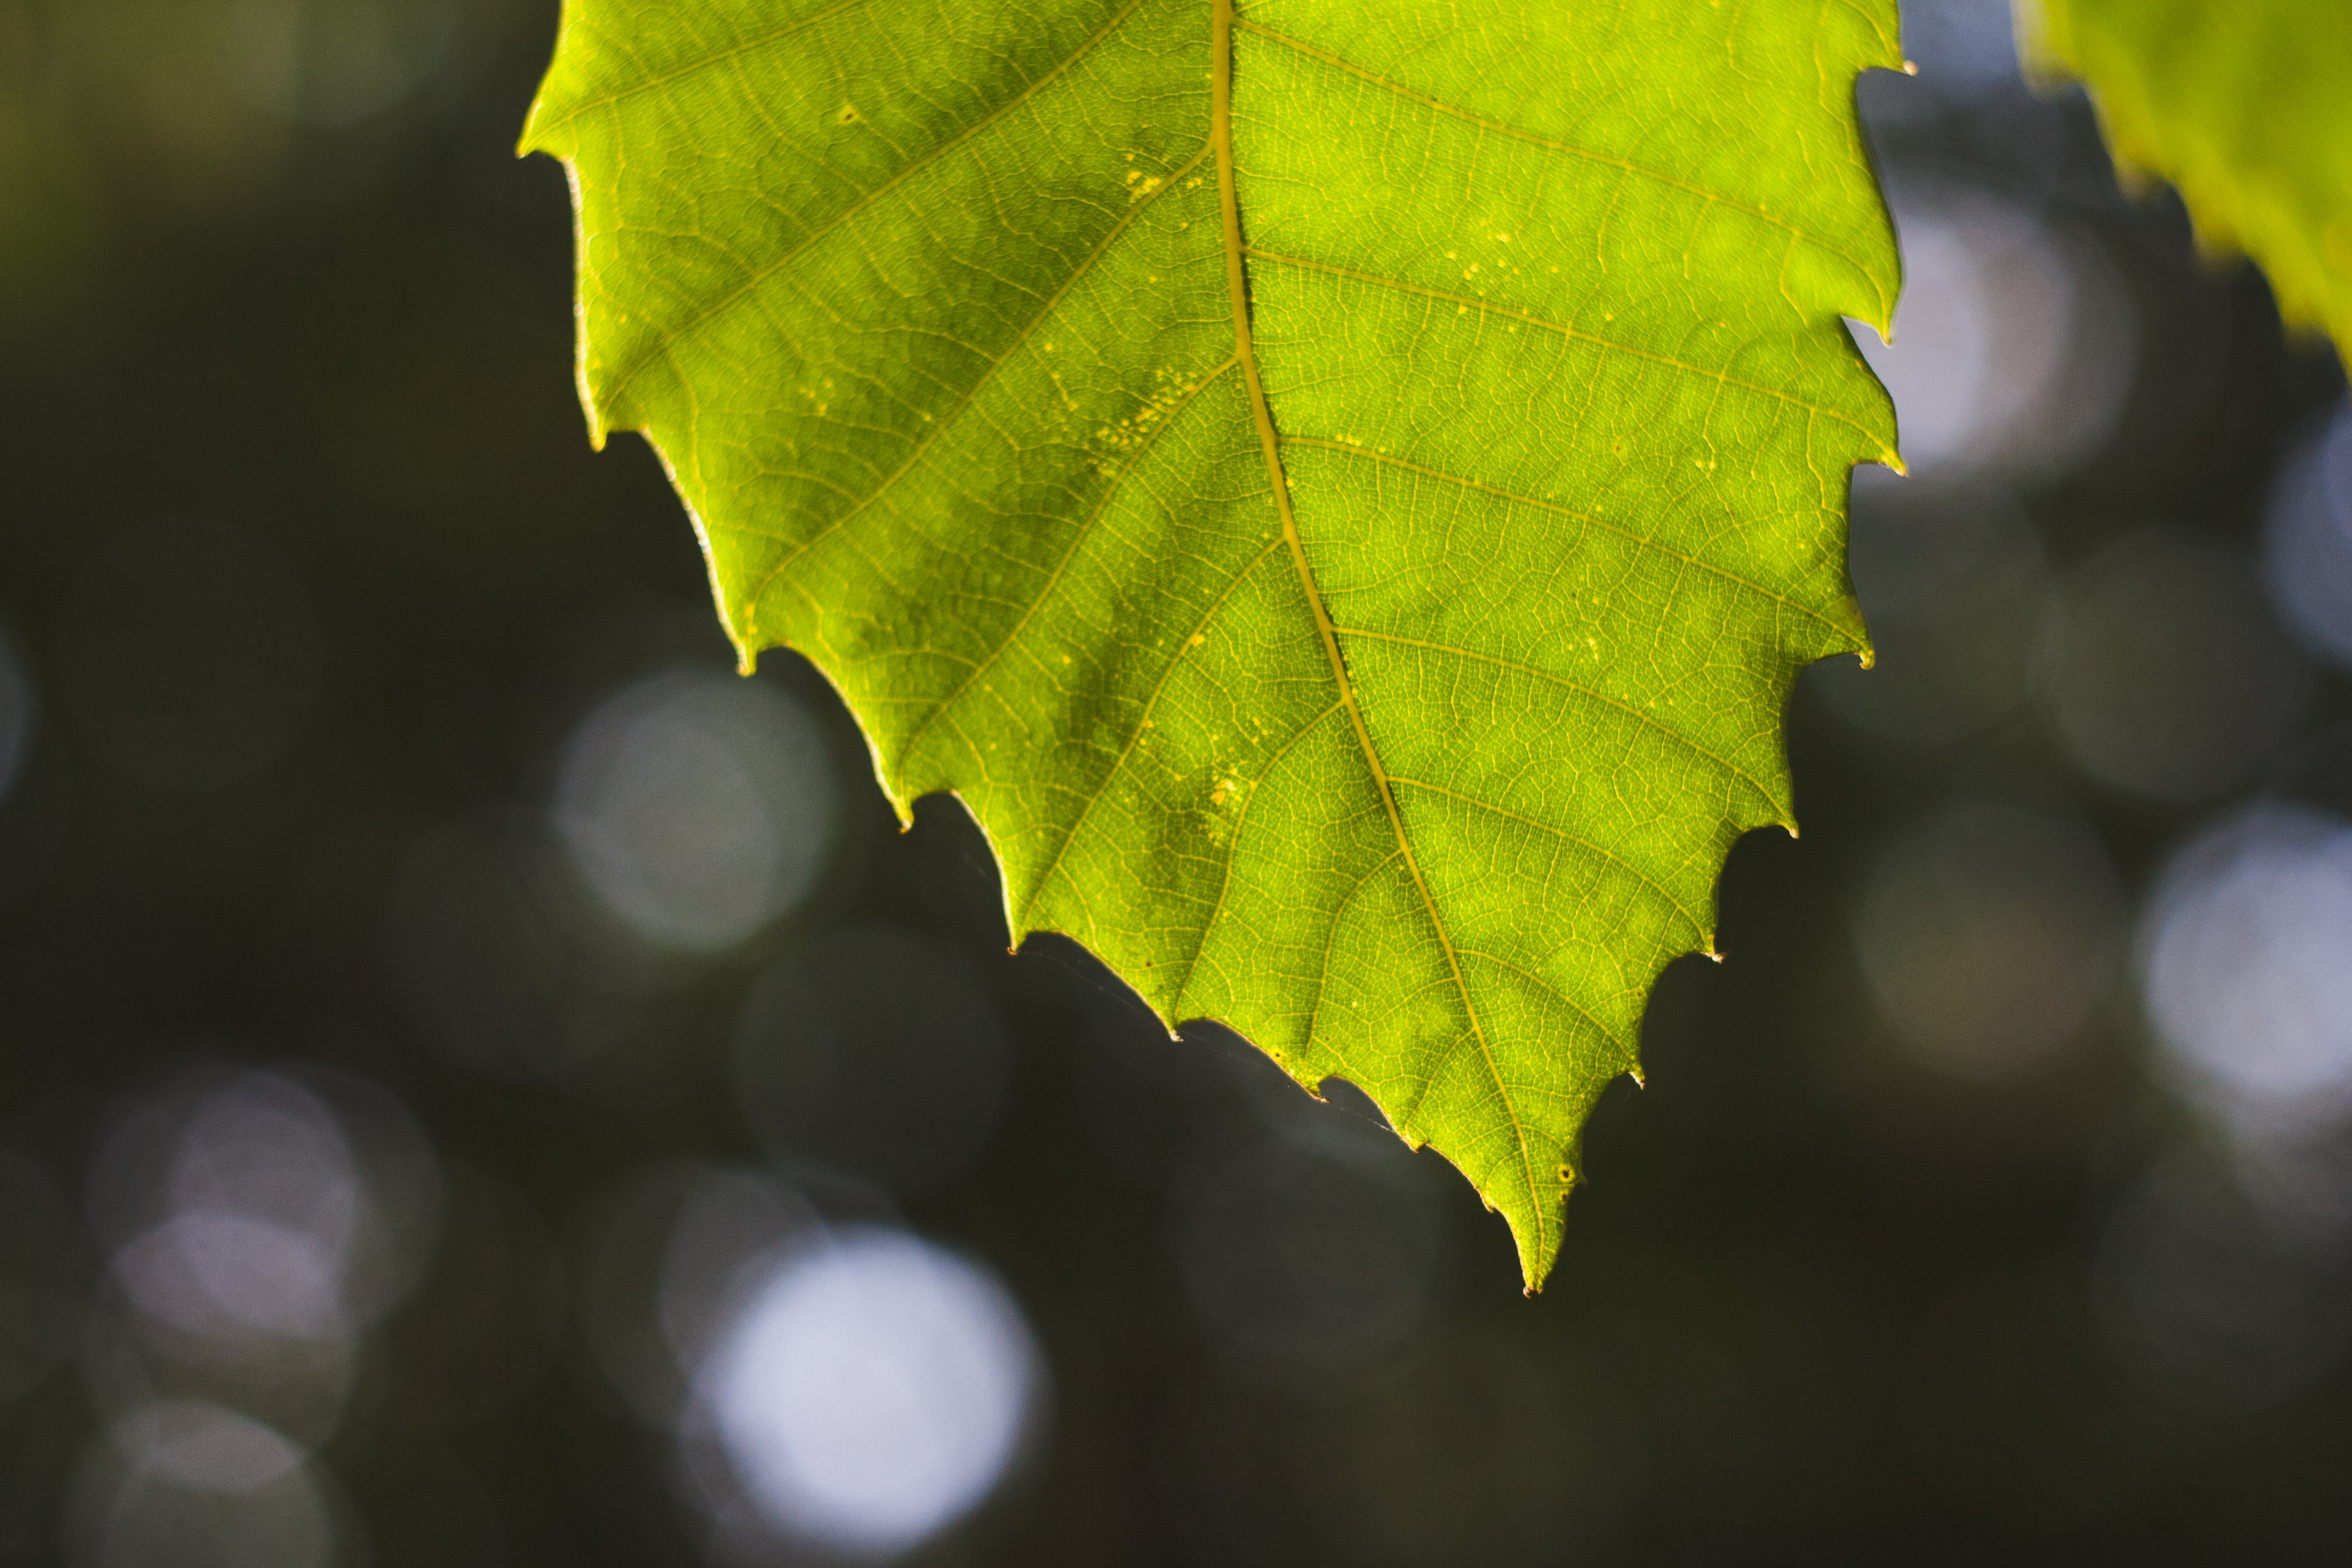
First image made with apodisation filter in Helios 44-4 lens, further image(s) made with normal Helios 44-2 - but sorry, without tripod, and with wind.


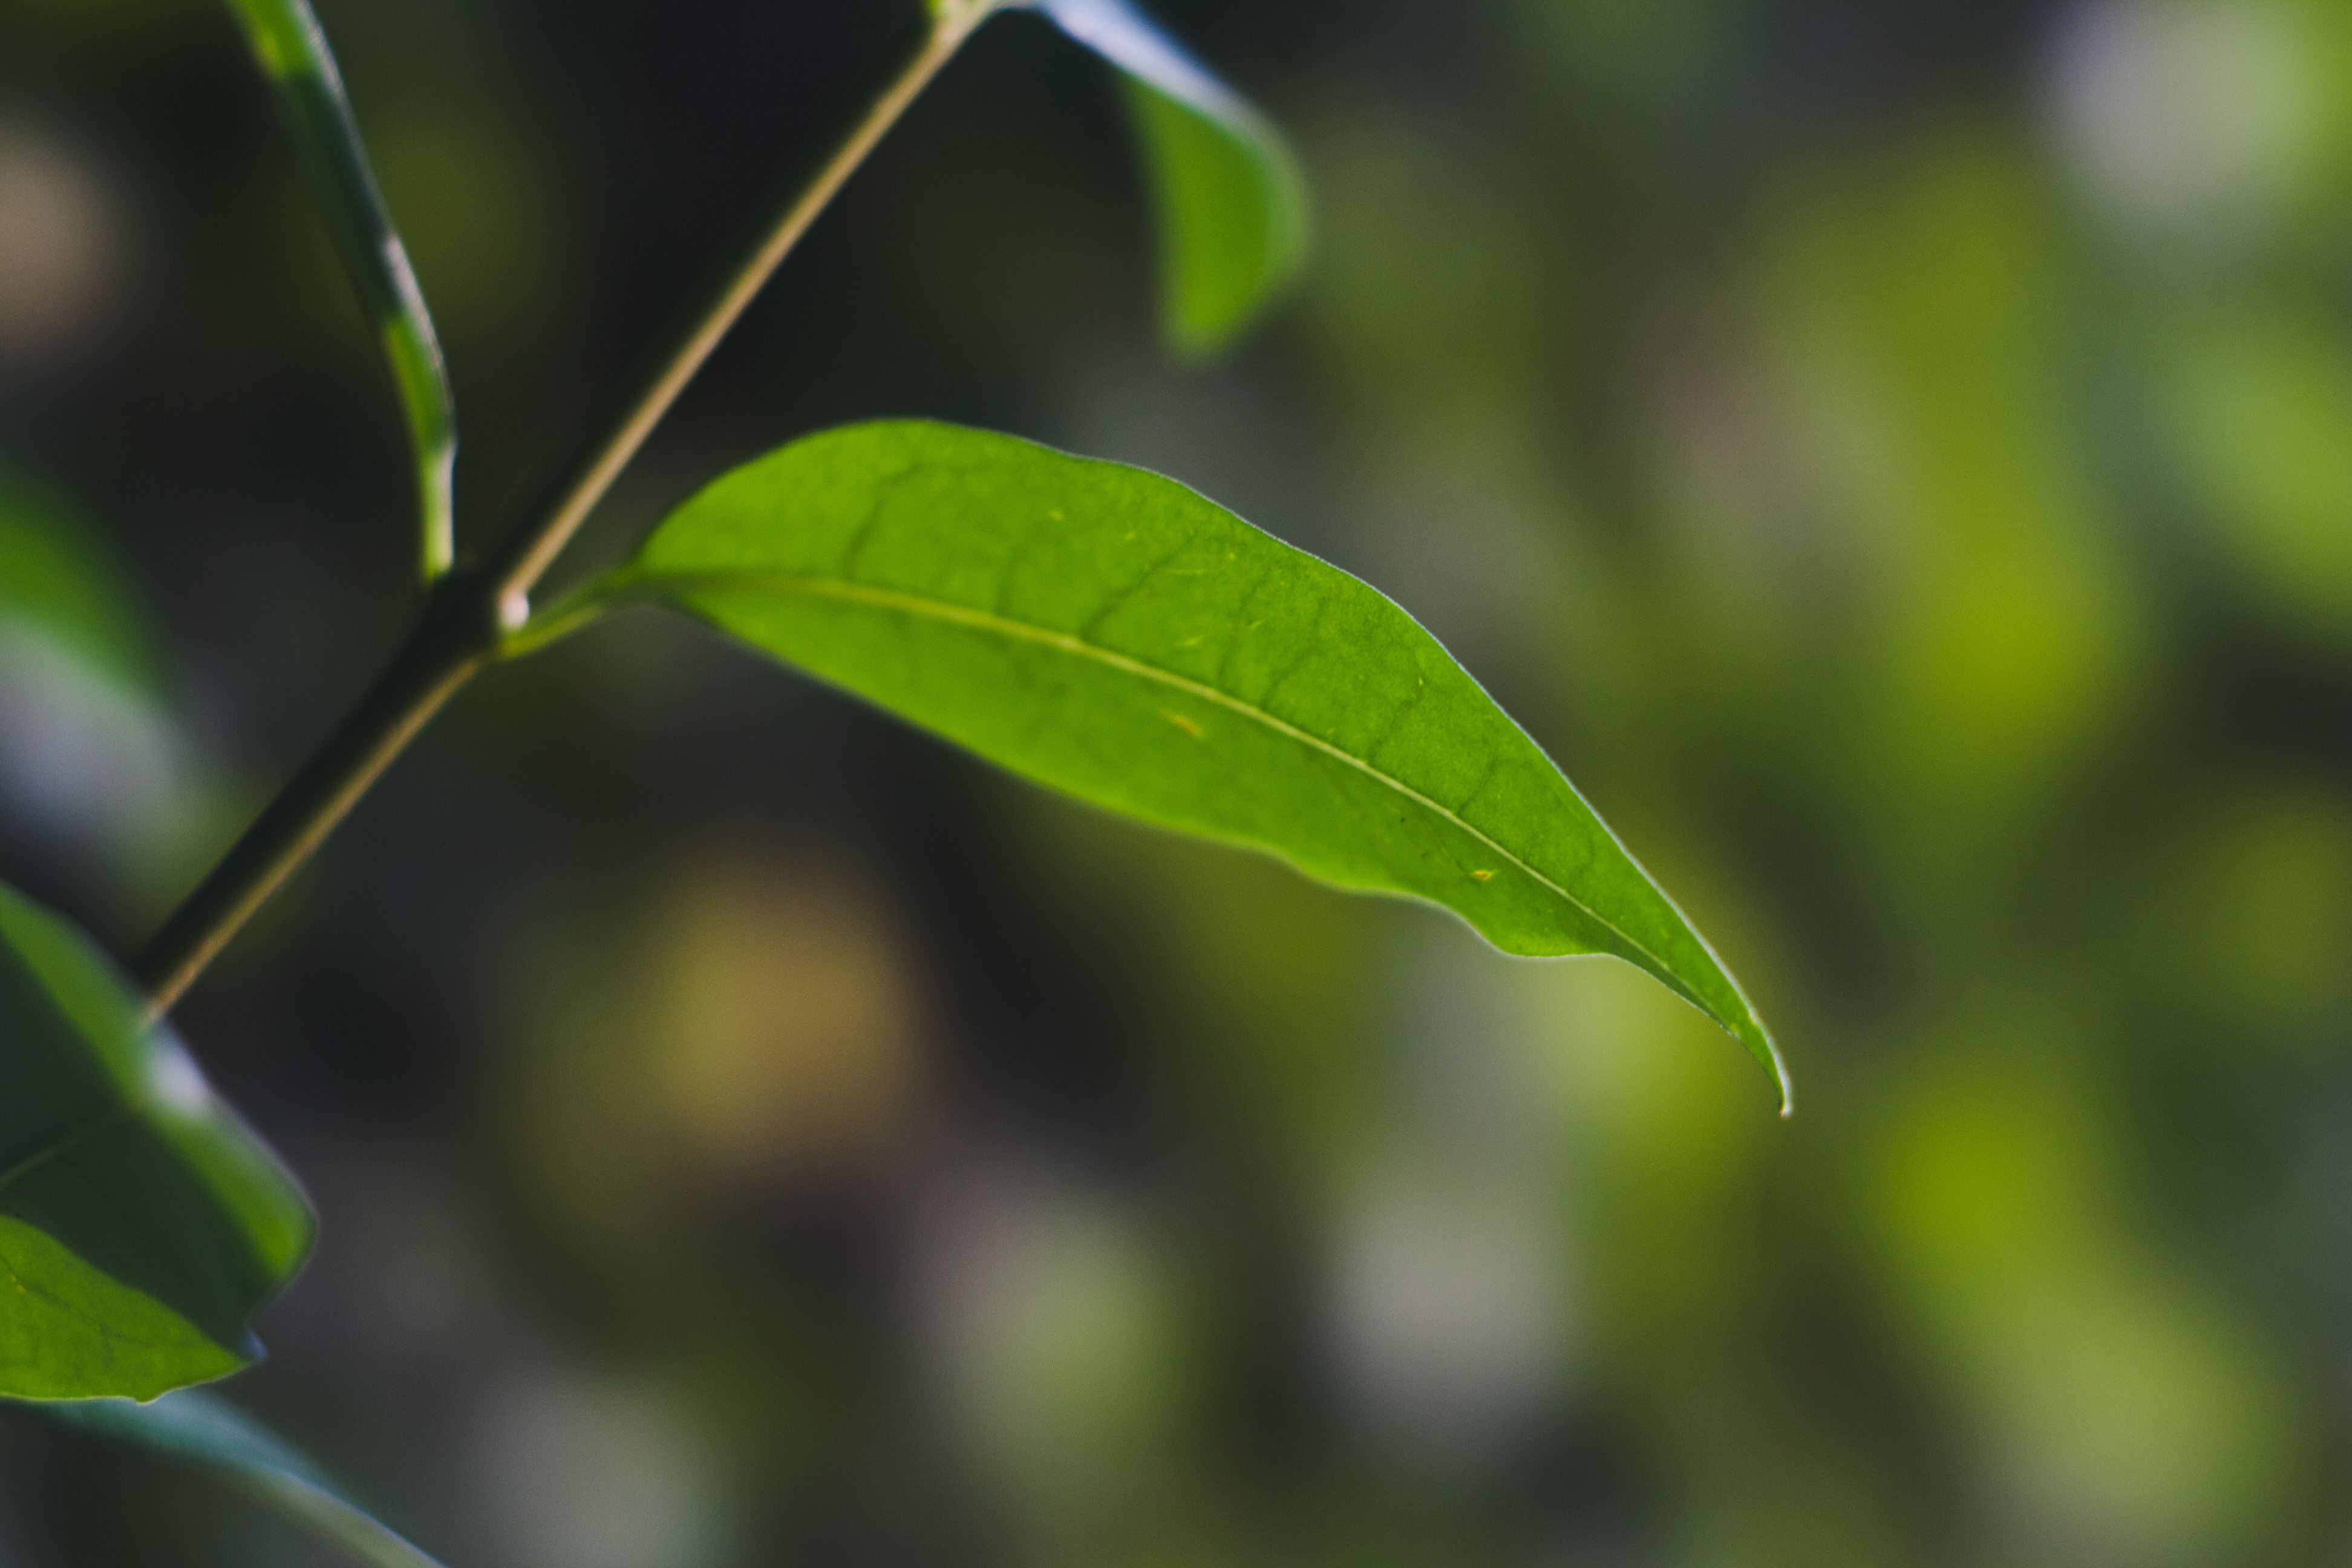
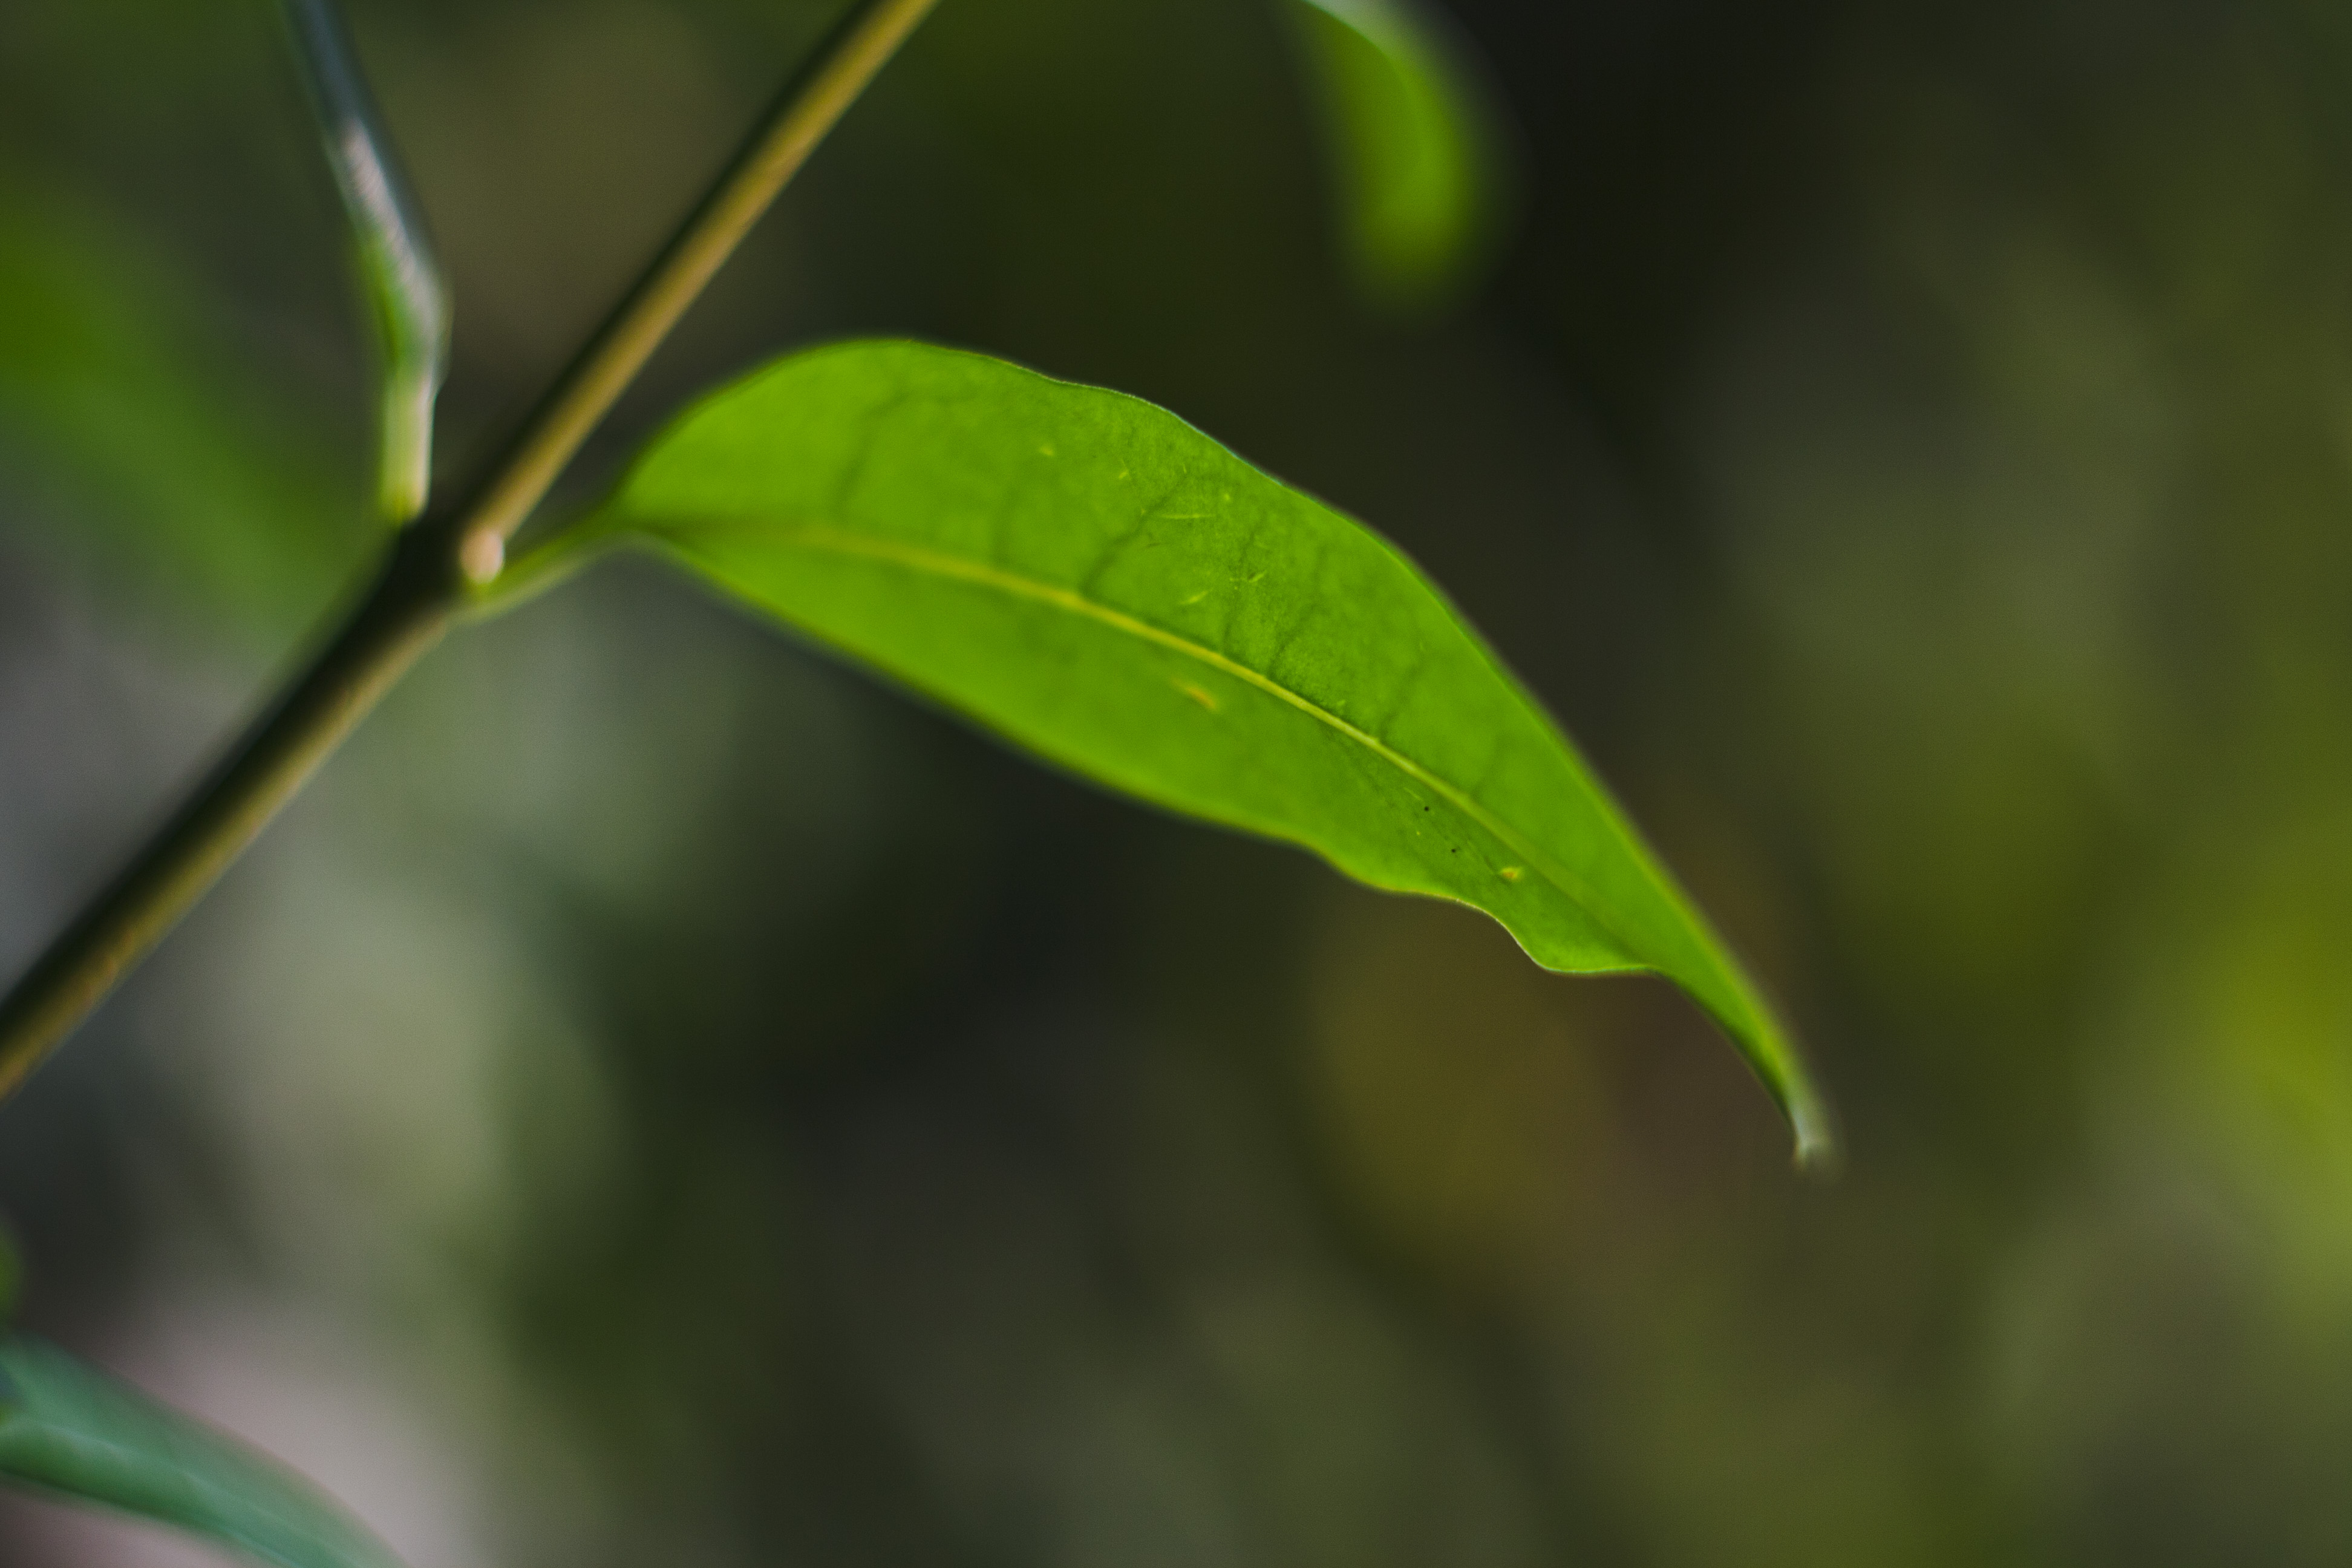
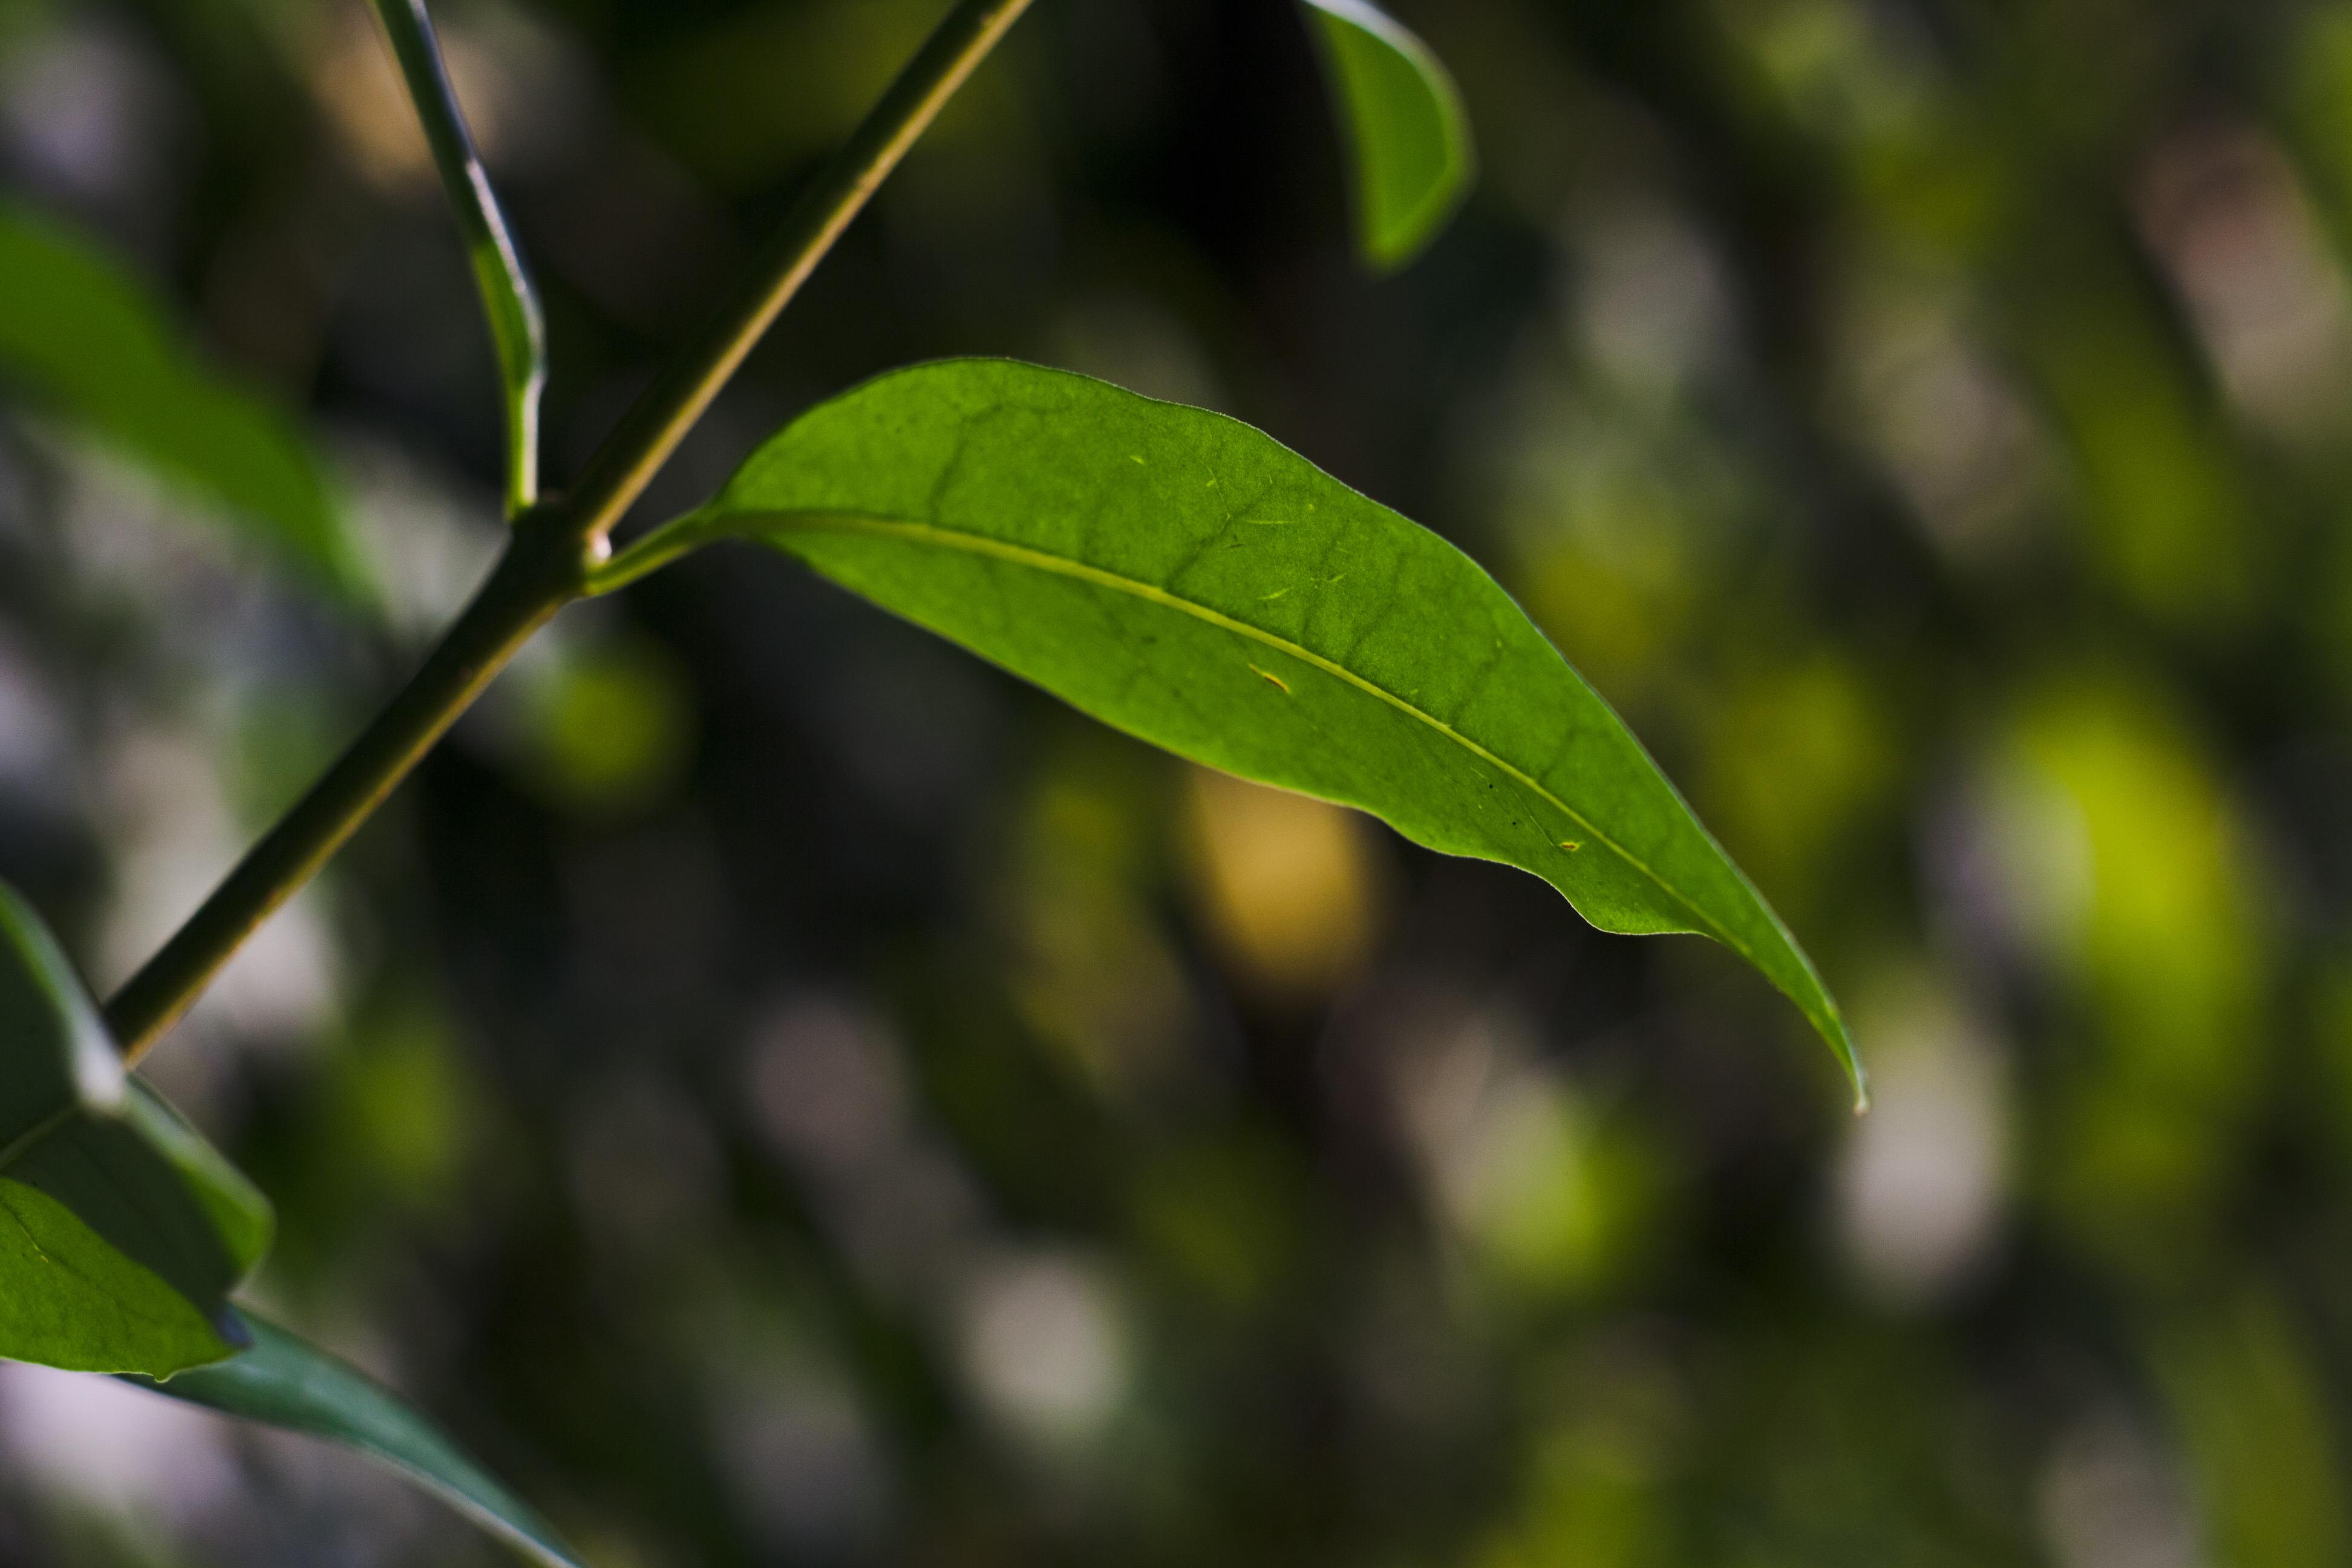


And now only apodisation:
I think with normal lenses the background would have destroyed these images. Now with apodisation it is picturesque .
Helios 44-4 58mm/2.0

Tokina RMC 28mm 2.8
Even wideangles could give a smooth bokeh - with an apodisation filter inside :-)
In my opinon apodisation filtering could be interesting for some images. But there is still the majority of images for which it doesn´t helps.
More sample images in the gallery - there arre the better ones.
For people who can not imaging that the photo industry could make any reasonable upgrade to their cameras, I have an proposal:
It should be no bigger deal to alter the iris diameter during exposure - this would get an apodisation effect with every lens!
That could be done at exposure times shorter and equal to the flash synchronisation speed (full open shutter). Probably the Canon EF lenses do have the most problems to implement that. With pure mechanics coupling between camera and lens is should be simple.
With central shutters like very often in medium format lenses, it is possible to shorter exposure times.
For completly different bokeh drawing style visit my Meyer Görlitz Trioplan 100/2.8 page - there are edge boosted soap bubbles!
And if you want a lens with adjustable bokeh search for the Sigma YS 135mm f/2.8 with extra macro focus ring, it works a bit like the Nikon Nikkor 105/2.0 and 135/2.8 DC lenses with their Defocus Control - variable spherical abberation.
If you like to tinker, or repair your own photographic tools, visit my Photo DIY Directory, and my other own tinkering work.
- fixedfocallength on flickr build a apodization lens with a Konica Hexanon 40mm f/1.8 the way I did